Welcome to FilmMovieStudio — a desktop studio for turning ideas into finished media with AI. You work on a freeform canvas, talk to an AI agent in the chat panel, and everything you generate — scripts, images, video clips, voiceovers and music — lands as cards you can arrange, remix and drag onto a timeline. When you're happy, the built-in timeline renders a real MP4 you can share anywhere.
This chapter walks you from download to your first render.
System requirements & download
FilmMovieStudio runs on all three desktop platforms:
| Platform | Installer | Notes |
|---|---|---|
| macOS | .dmg |
Universal build — works on both Intel and Apple Silicon Macs |
| Windows 10/11 (64-bit) | .exe |
Standard setup wizard |
| Linux | .deb / .rpm / .AppImage |
Debian/Ubuntu, Fedora/RHEL, or portable AppImage |
Download the app from filmotvor.ai/studio. Sign in on the website first — the download links are available to logged-in users.
First launch notes:
- macOS: the app is currently unsigned, so the very first time you open it, right-click the app icon and choose "Open", then confirm. macOS remembers your choice and launches normally after that.
- Windows: you may see a SmartScreen prompt on first run — click "More info" → "Run anyway".
Activate your license
When the app opens for the first time you'll see the Activate Film Movie Studio screen. It asks for the license key you received with your purchase — a code in the format FMS7-XXXX-XXXX-XXXX-XXXX, delivered by email after you buy on filmotvor.ai/studio.
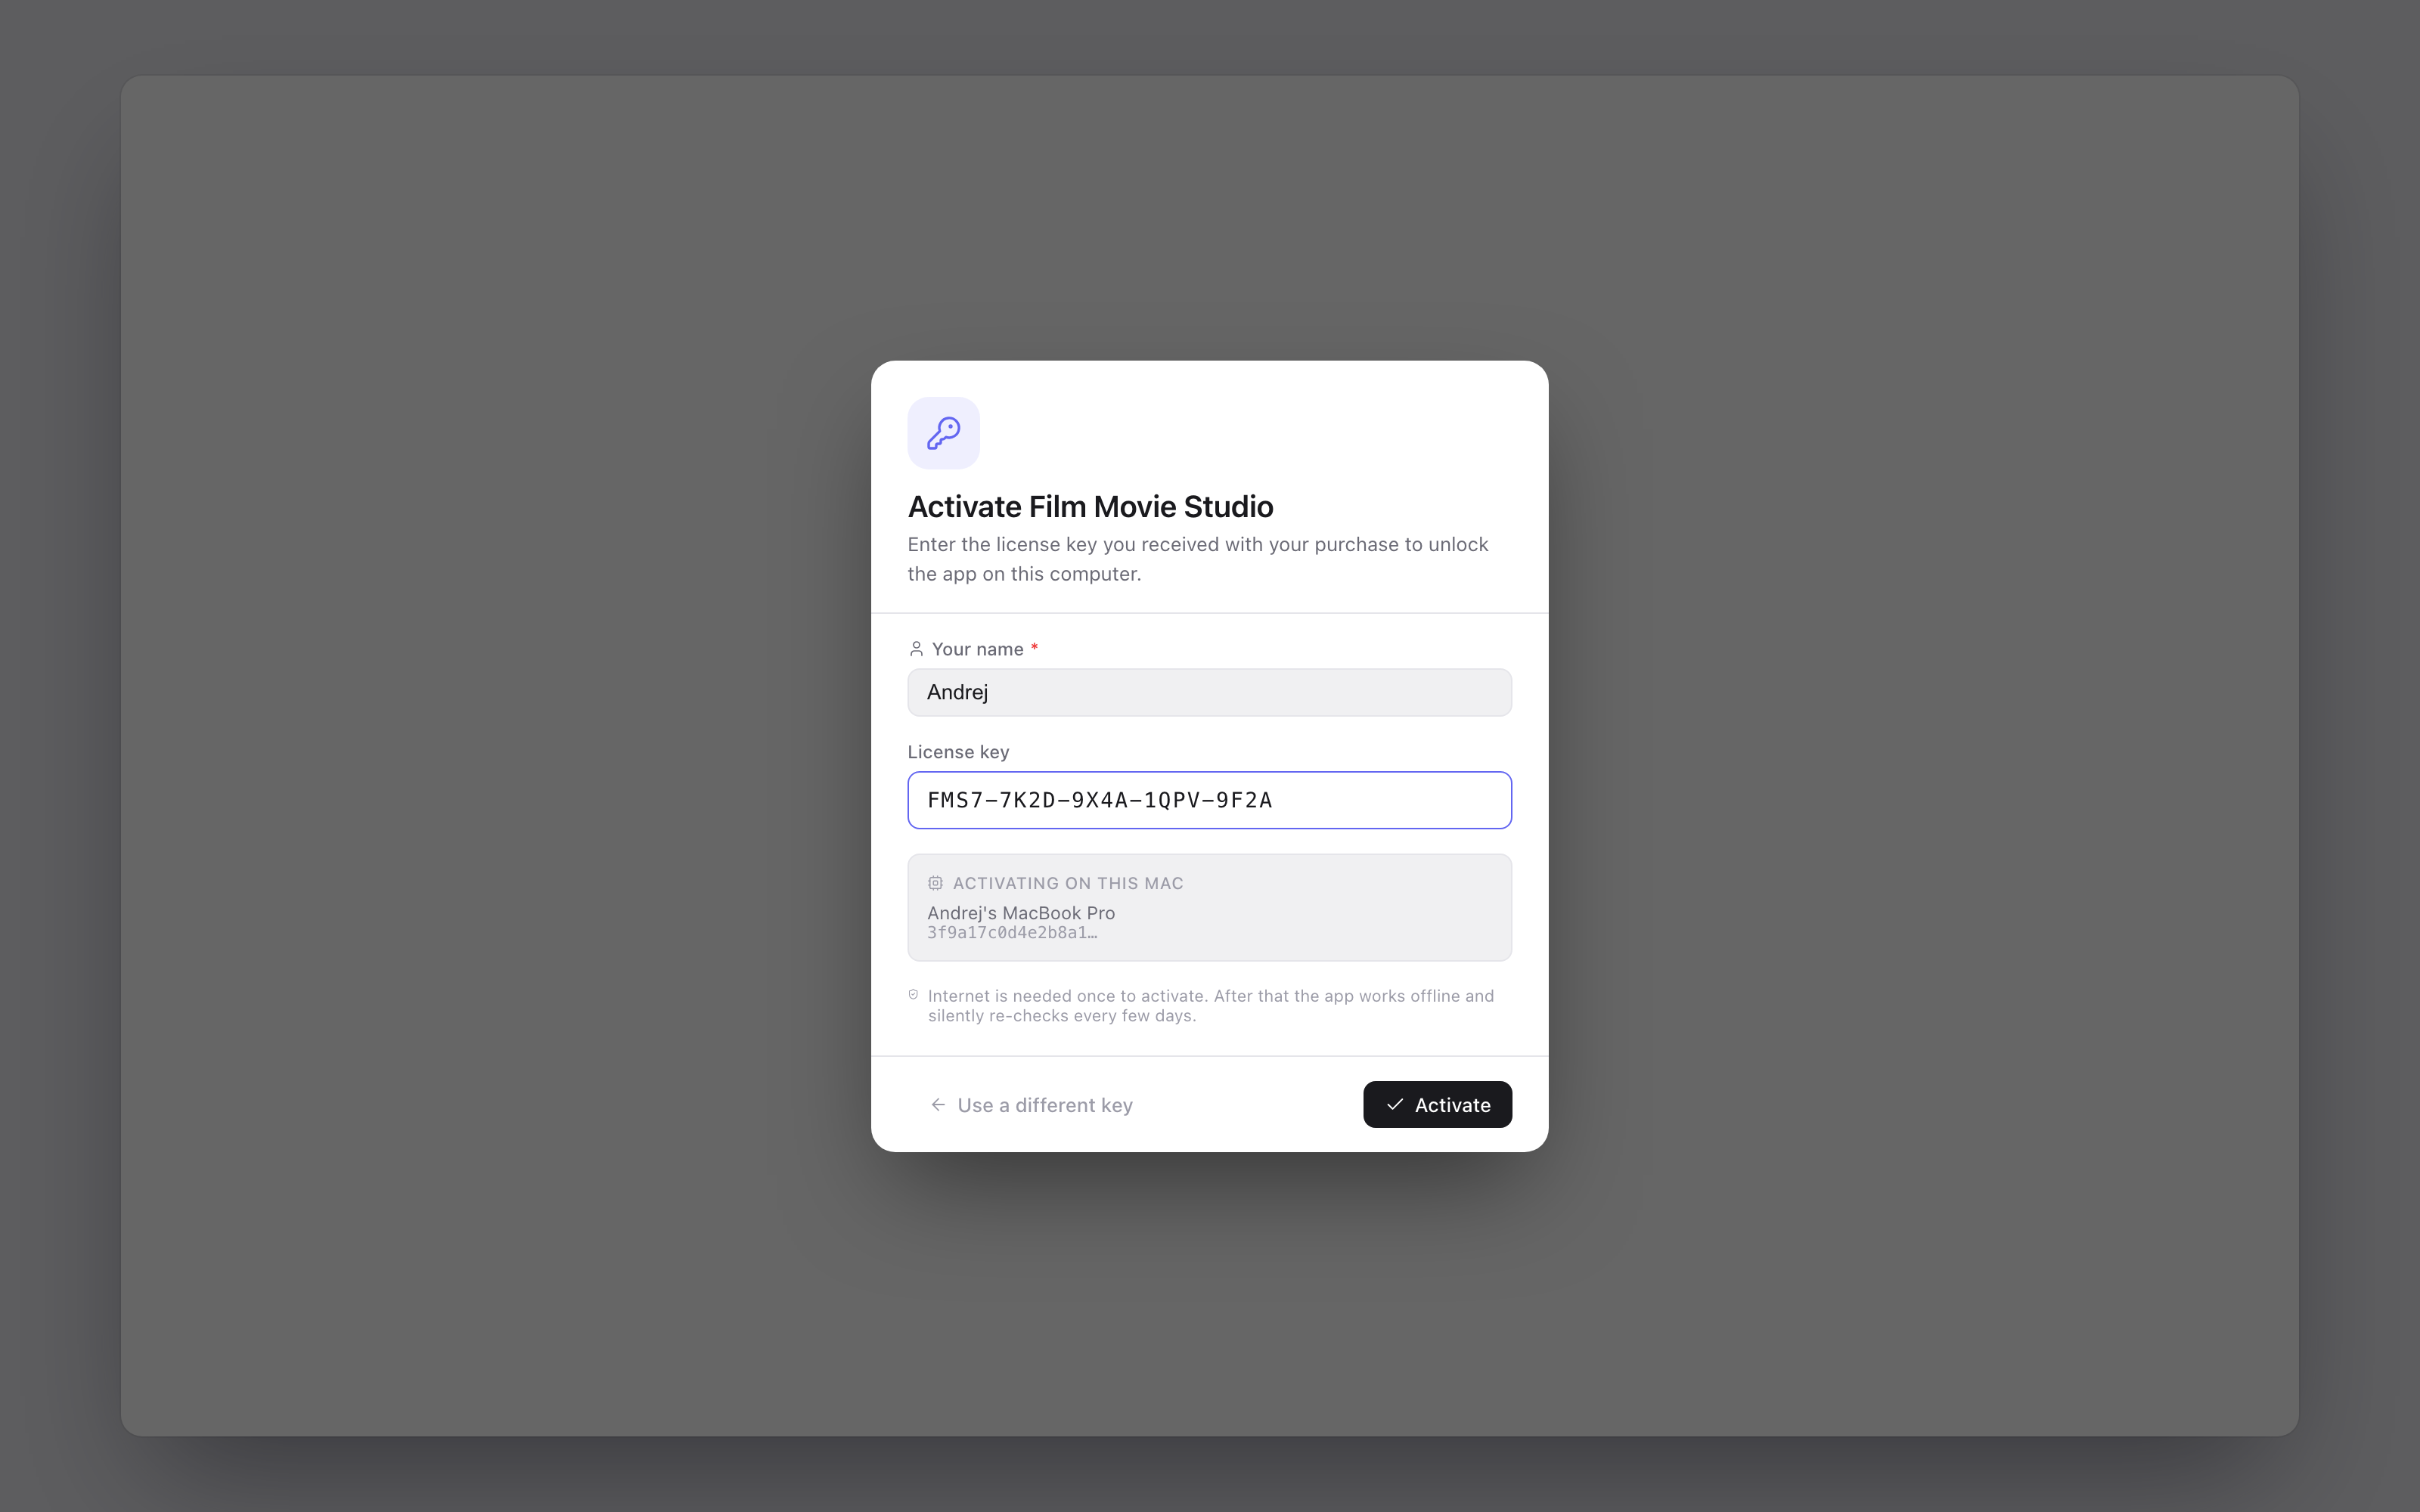
- Type Your name — this becomes your display name inside the app.
- Paste your key into the License key field (it auto-formats as you type).
- Check the machine preview box — it shows which computer you're activating on.
- Click Activate.
You need an internet connection once to activate. After that the app works offline and silently re-checks the license every few days. Activation also signs you in automatically — your license key doubles as your login.
Tip: Each license runs on a limited number of machines. If you ever see "License is registered to another machine", contact support to transfer it.
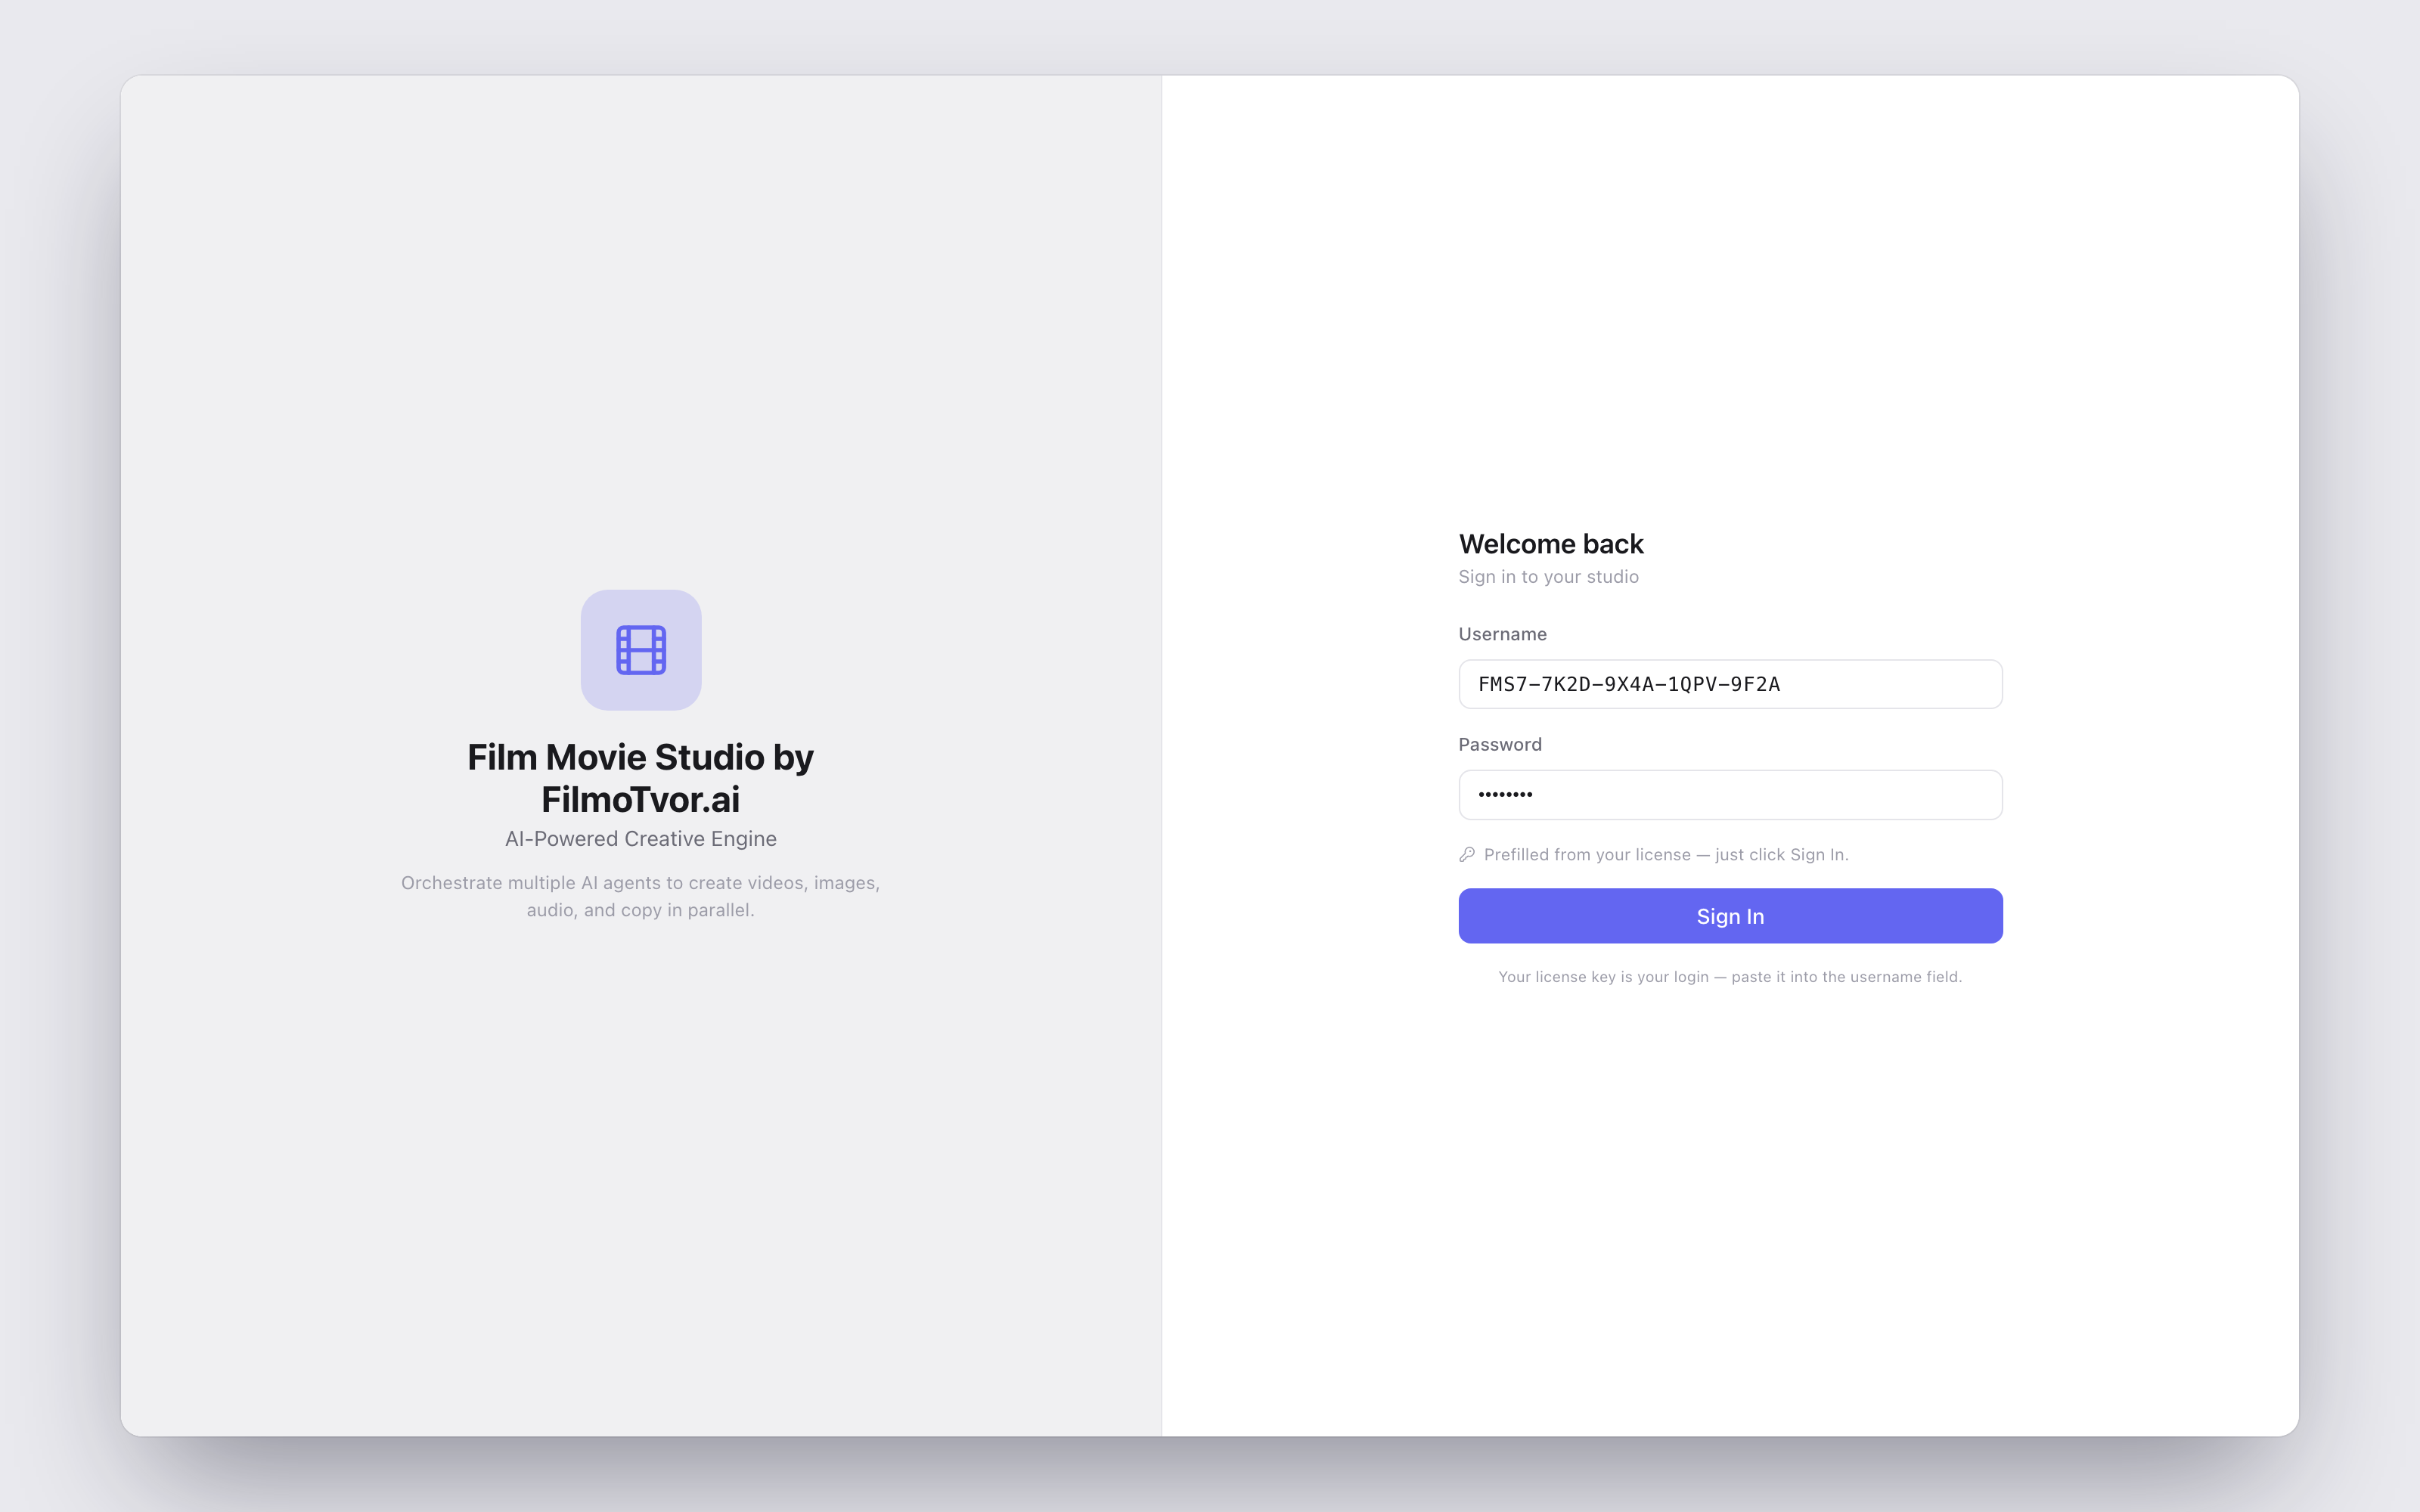
Signing in later
If you ever sign out (from the account menu at the bottom of the sidebar), the Welcome back screen brings you back in. Your license key is prefilled as both username and password — just click Sign In.
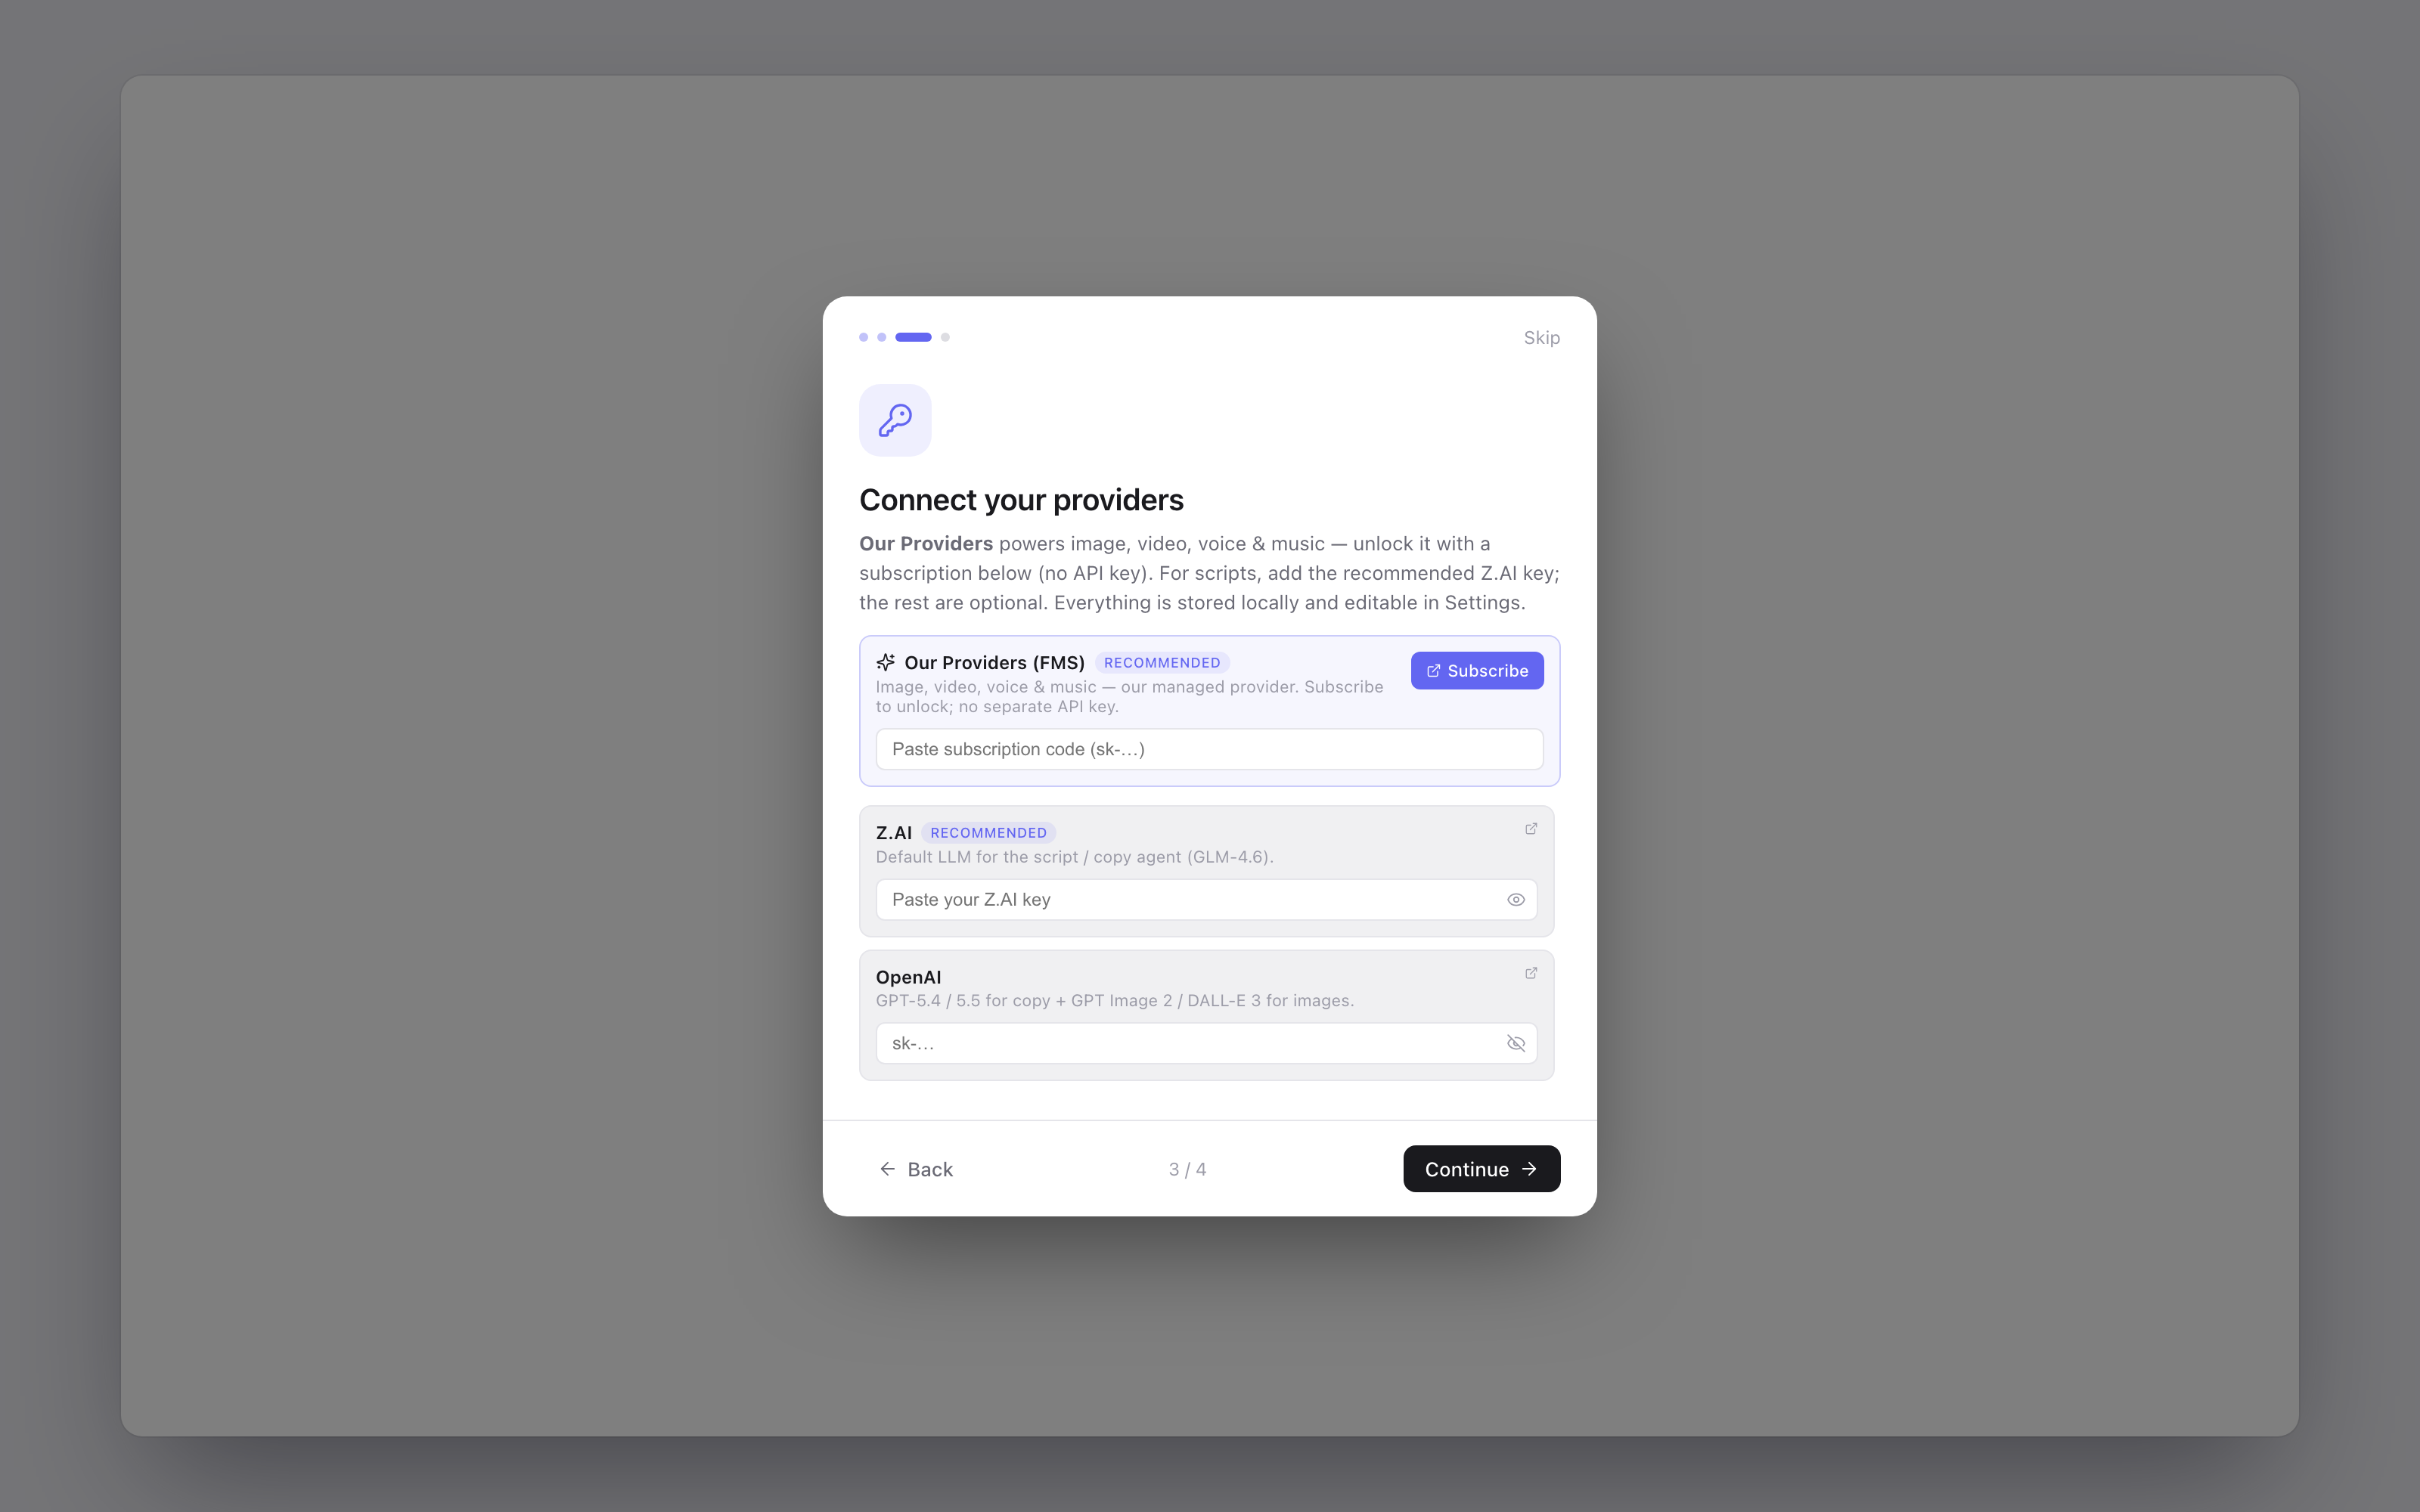
The first-run setup wizard
Right after activation, a short four-step wizard gets your studio ready. It takes about a minute, and you can click Skip at any time — everything here can be changed later in Settings.
- Welcome to Film Movie Studio — a quick hello.
- How it works — the three core ideas: the Canvas (double-click anywhere to spawn a node), the Hub (browse and install skills), and the Chat (describe what you want and the right agent generates it).
- Connect your providers — unlock the managed Our Providers (FMS) service with a subscription code, and/or paste your own API keys (Z.AI is recommended for scripts; OpenAI, ElevenLabs, kie.ai and OpenRouter are optional).
- You're all set — click Get started.
Three ways to power generation
FilmMovieStudio doesn't generate media by itself — it orchestrates AI providers. You can power it in three ways, and mix them freely:
| FilmMovie subscription | Bring Your Own Keys | Free local models | |
|---|---|---|---|
| What it is | Our managed provider — image, video, voice & music on our keys | Your own API keys for providers you choose | AI models that run on your computer |
| What you need | A subscription code (starts with sk-…) |
API keys from kie.ai, fal.ai, OpenRouter, ElevenLabs, Z.AI, OpenAI… | Nothing — just disk space for the download |
| Cost | Monthly plan with included credits | You pay each provider directly | Free |
| Works offline | No | No | Yes, once downloaded |
| Best for | The simplest setup — one code, everything works | Power users who want specific models and their own billing | Voiceovers and script drafts with zero cost and full privacy |
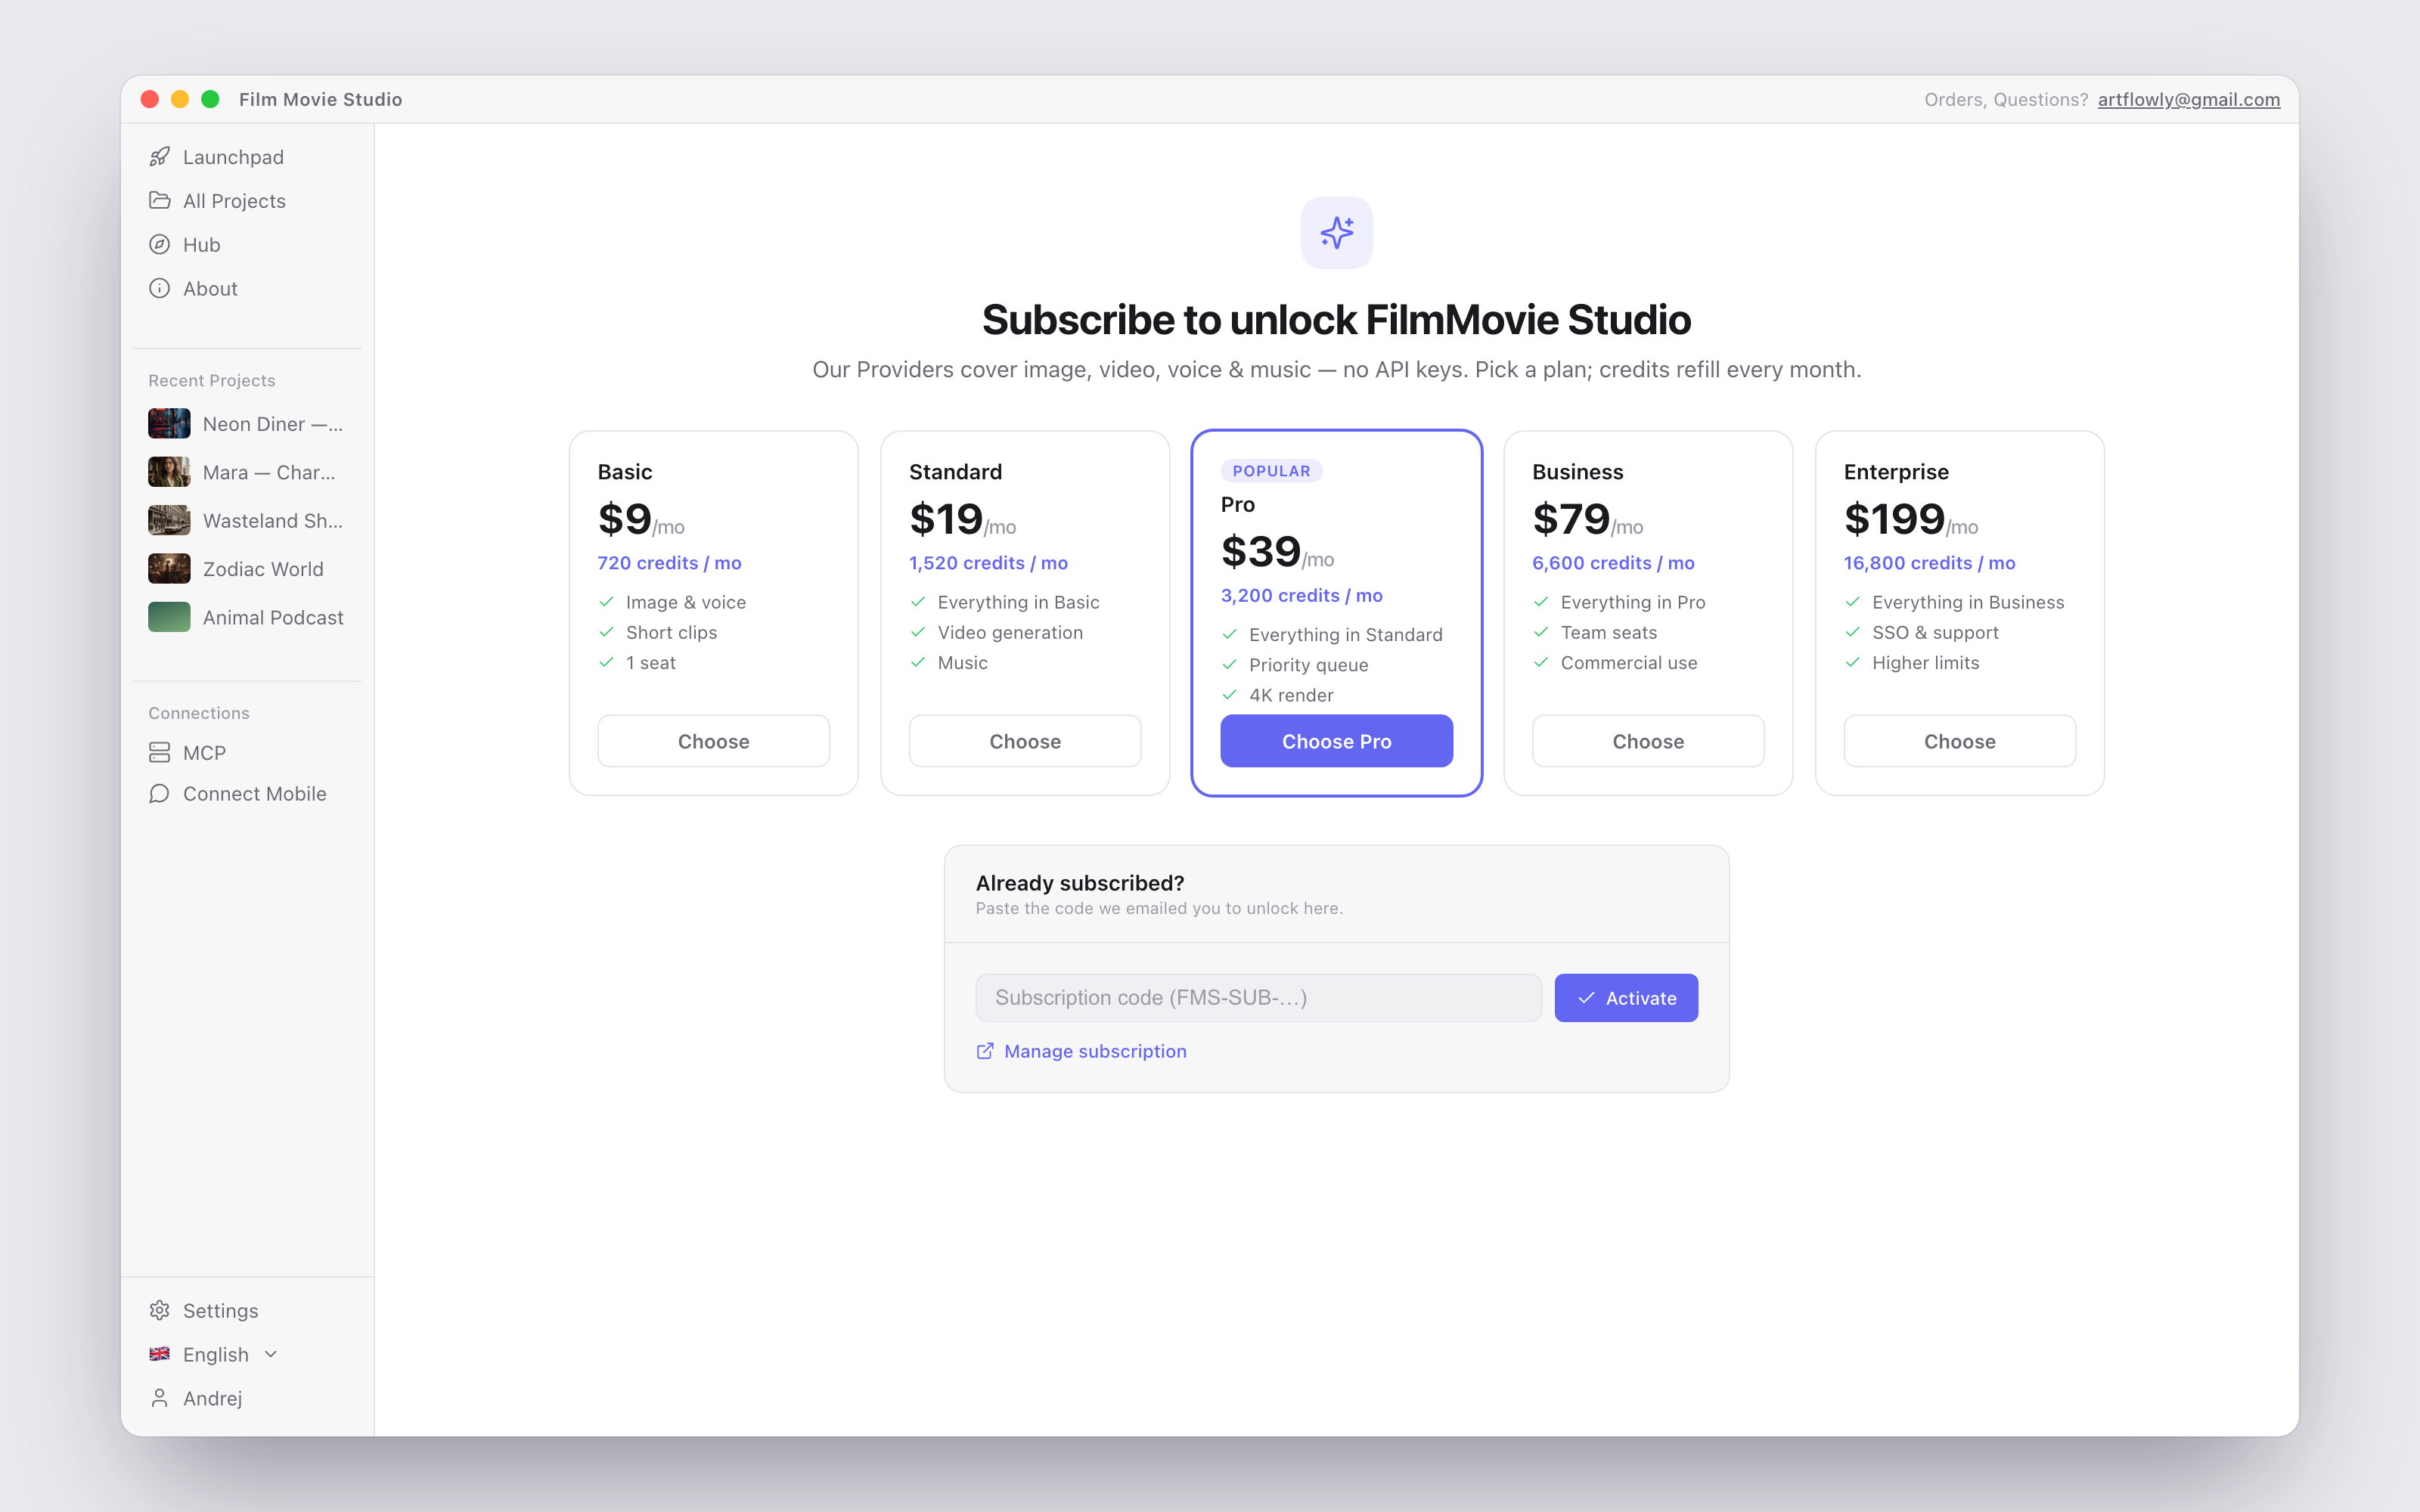
To activate a subscription: buy a plan on filmotvor.ai/studio, then open Settings → Usage, find the Subscription card, paste your code and click Activate. Your remaining Credits and renewal date show right there.
To add your own keys: open Settings → AI Providers and paste keys into the Keys tab. Each provider unlocks its own set of models in the Models tab.
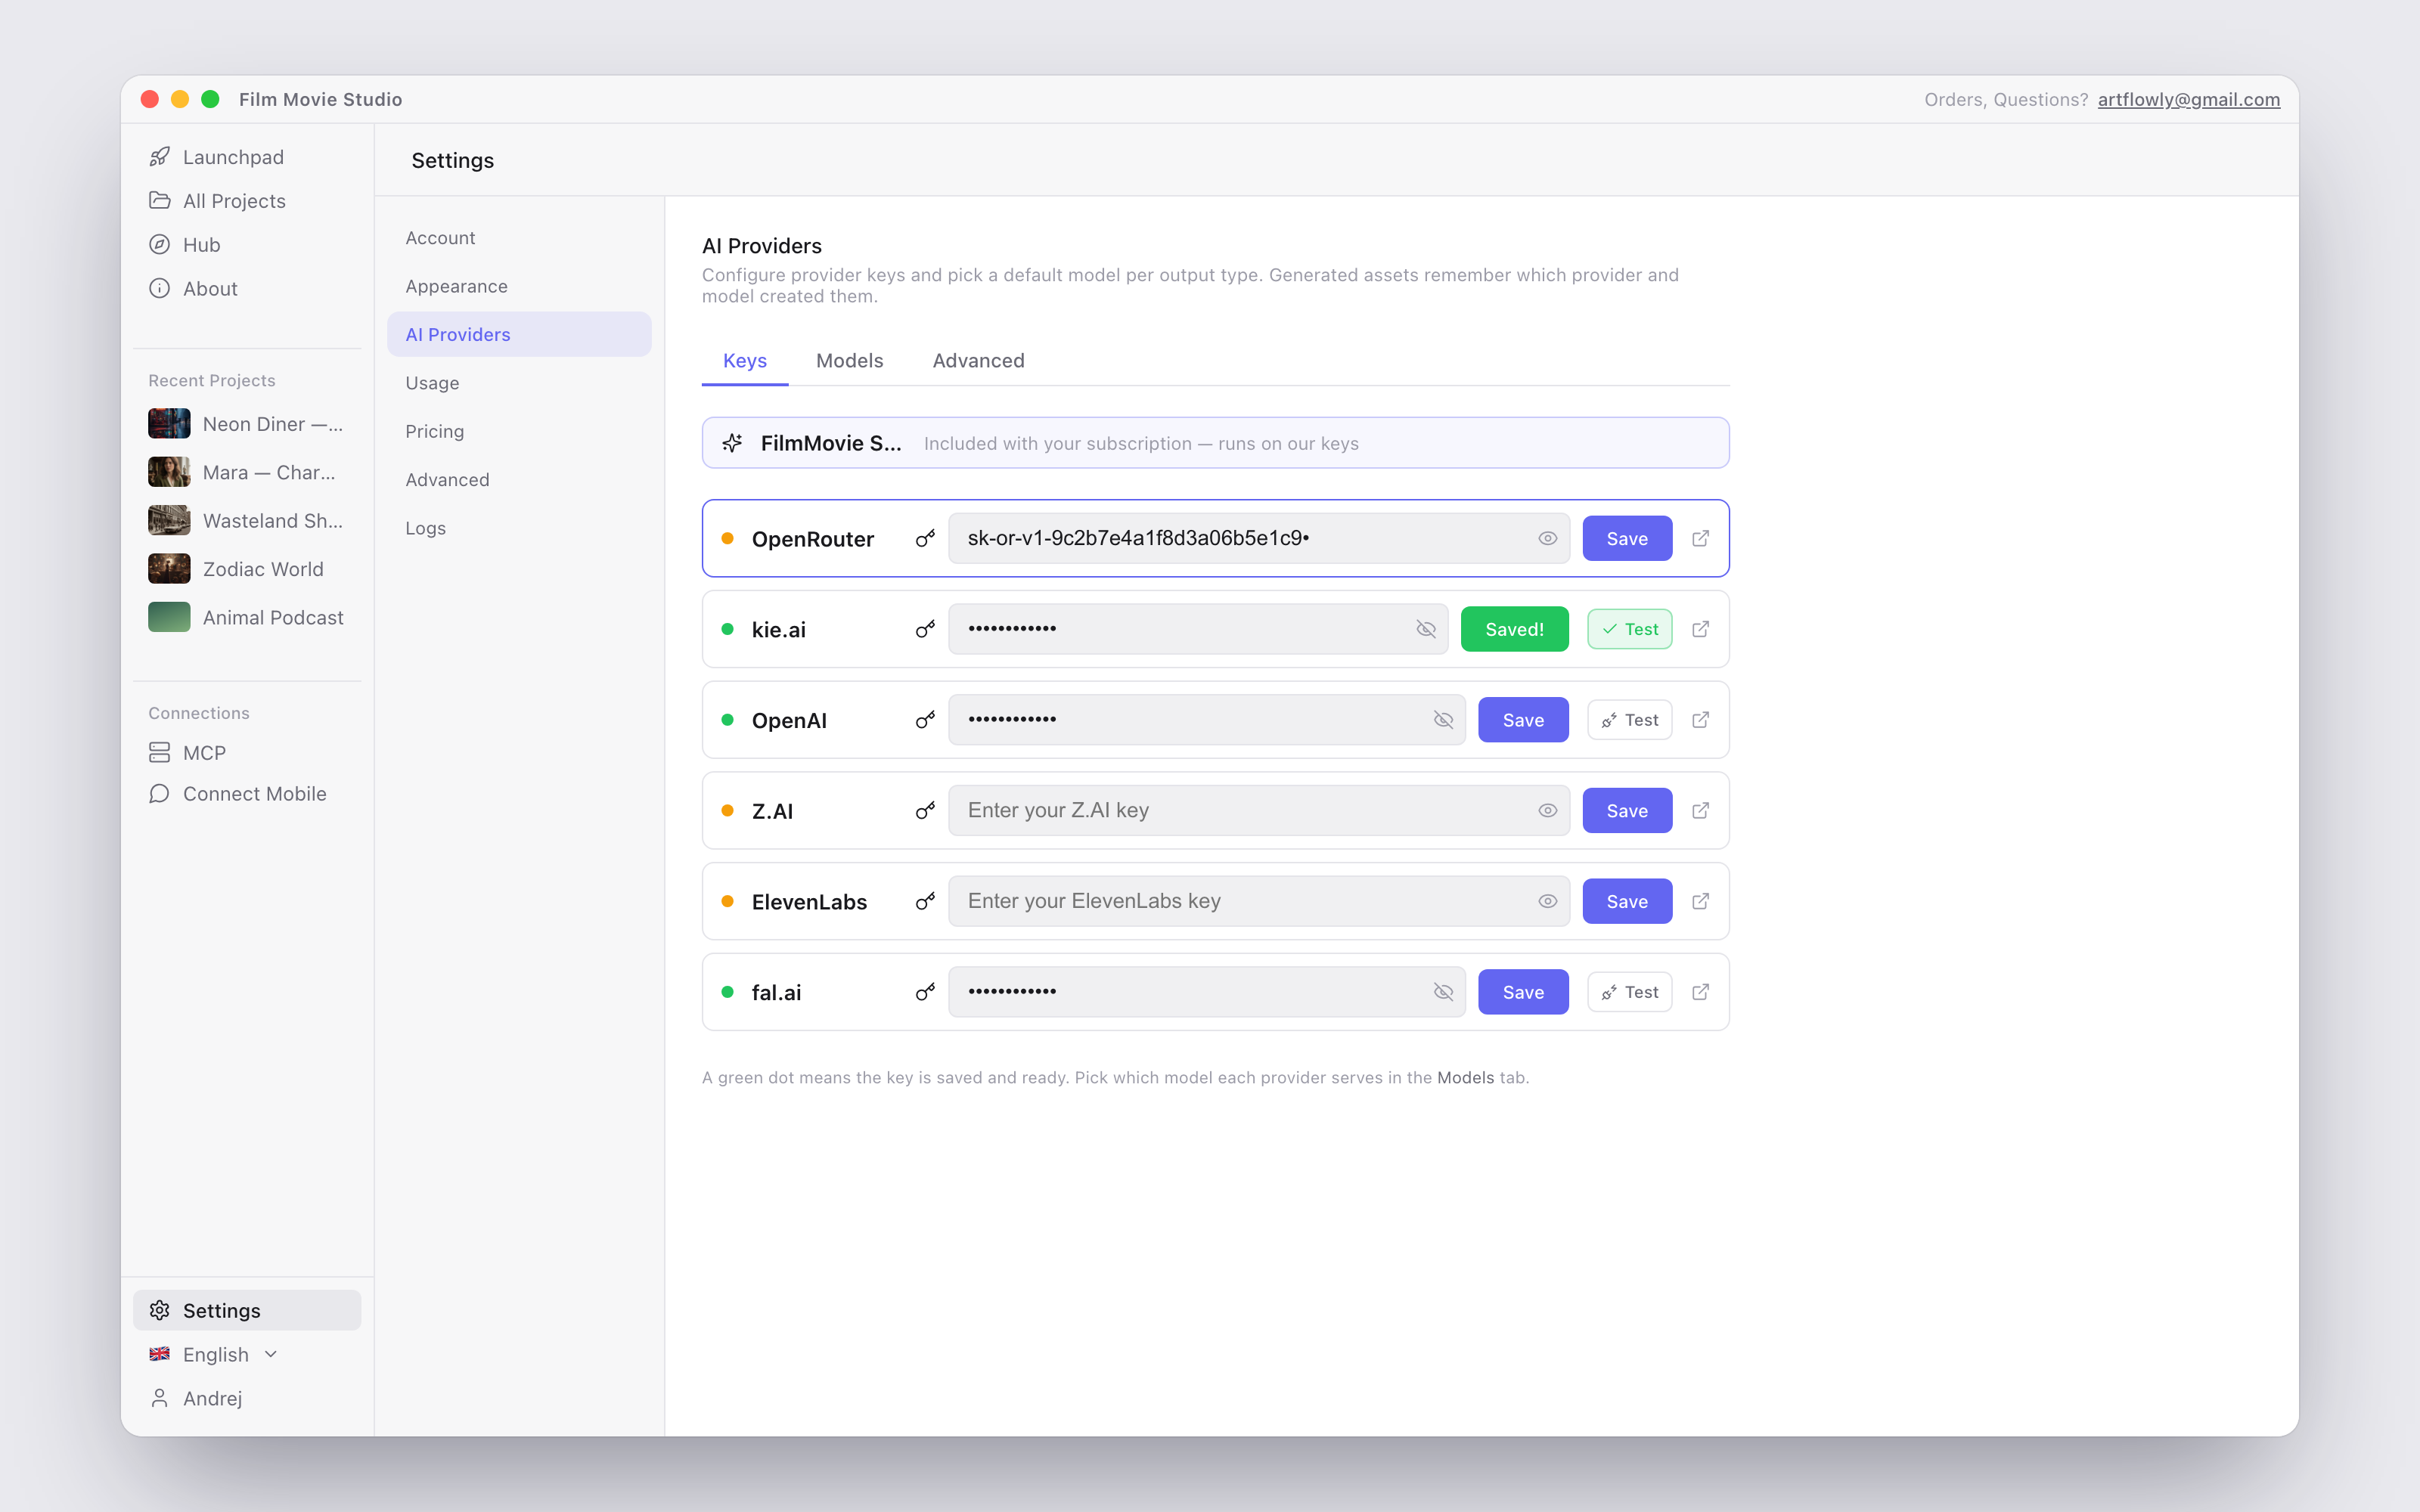
To use free local models: open Settings → AI Providers → Local. Two on-device models are available for download: Supertonic (text-to-speech narration in 31 languages, including Slovak) and Qwen3 4B (an offline script/chat model). No API key, no credits — and they keep working without internet once downloaded.
The full walkthrough of every provider, model selection and pricing lives in Settings & AI Providers.
"Set up a Script model" — the gate dialog
If you try to chat or launch a skill before any Script (LLM) provider is configured, this dialog appears:
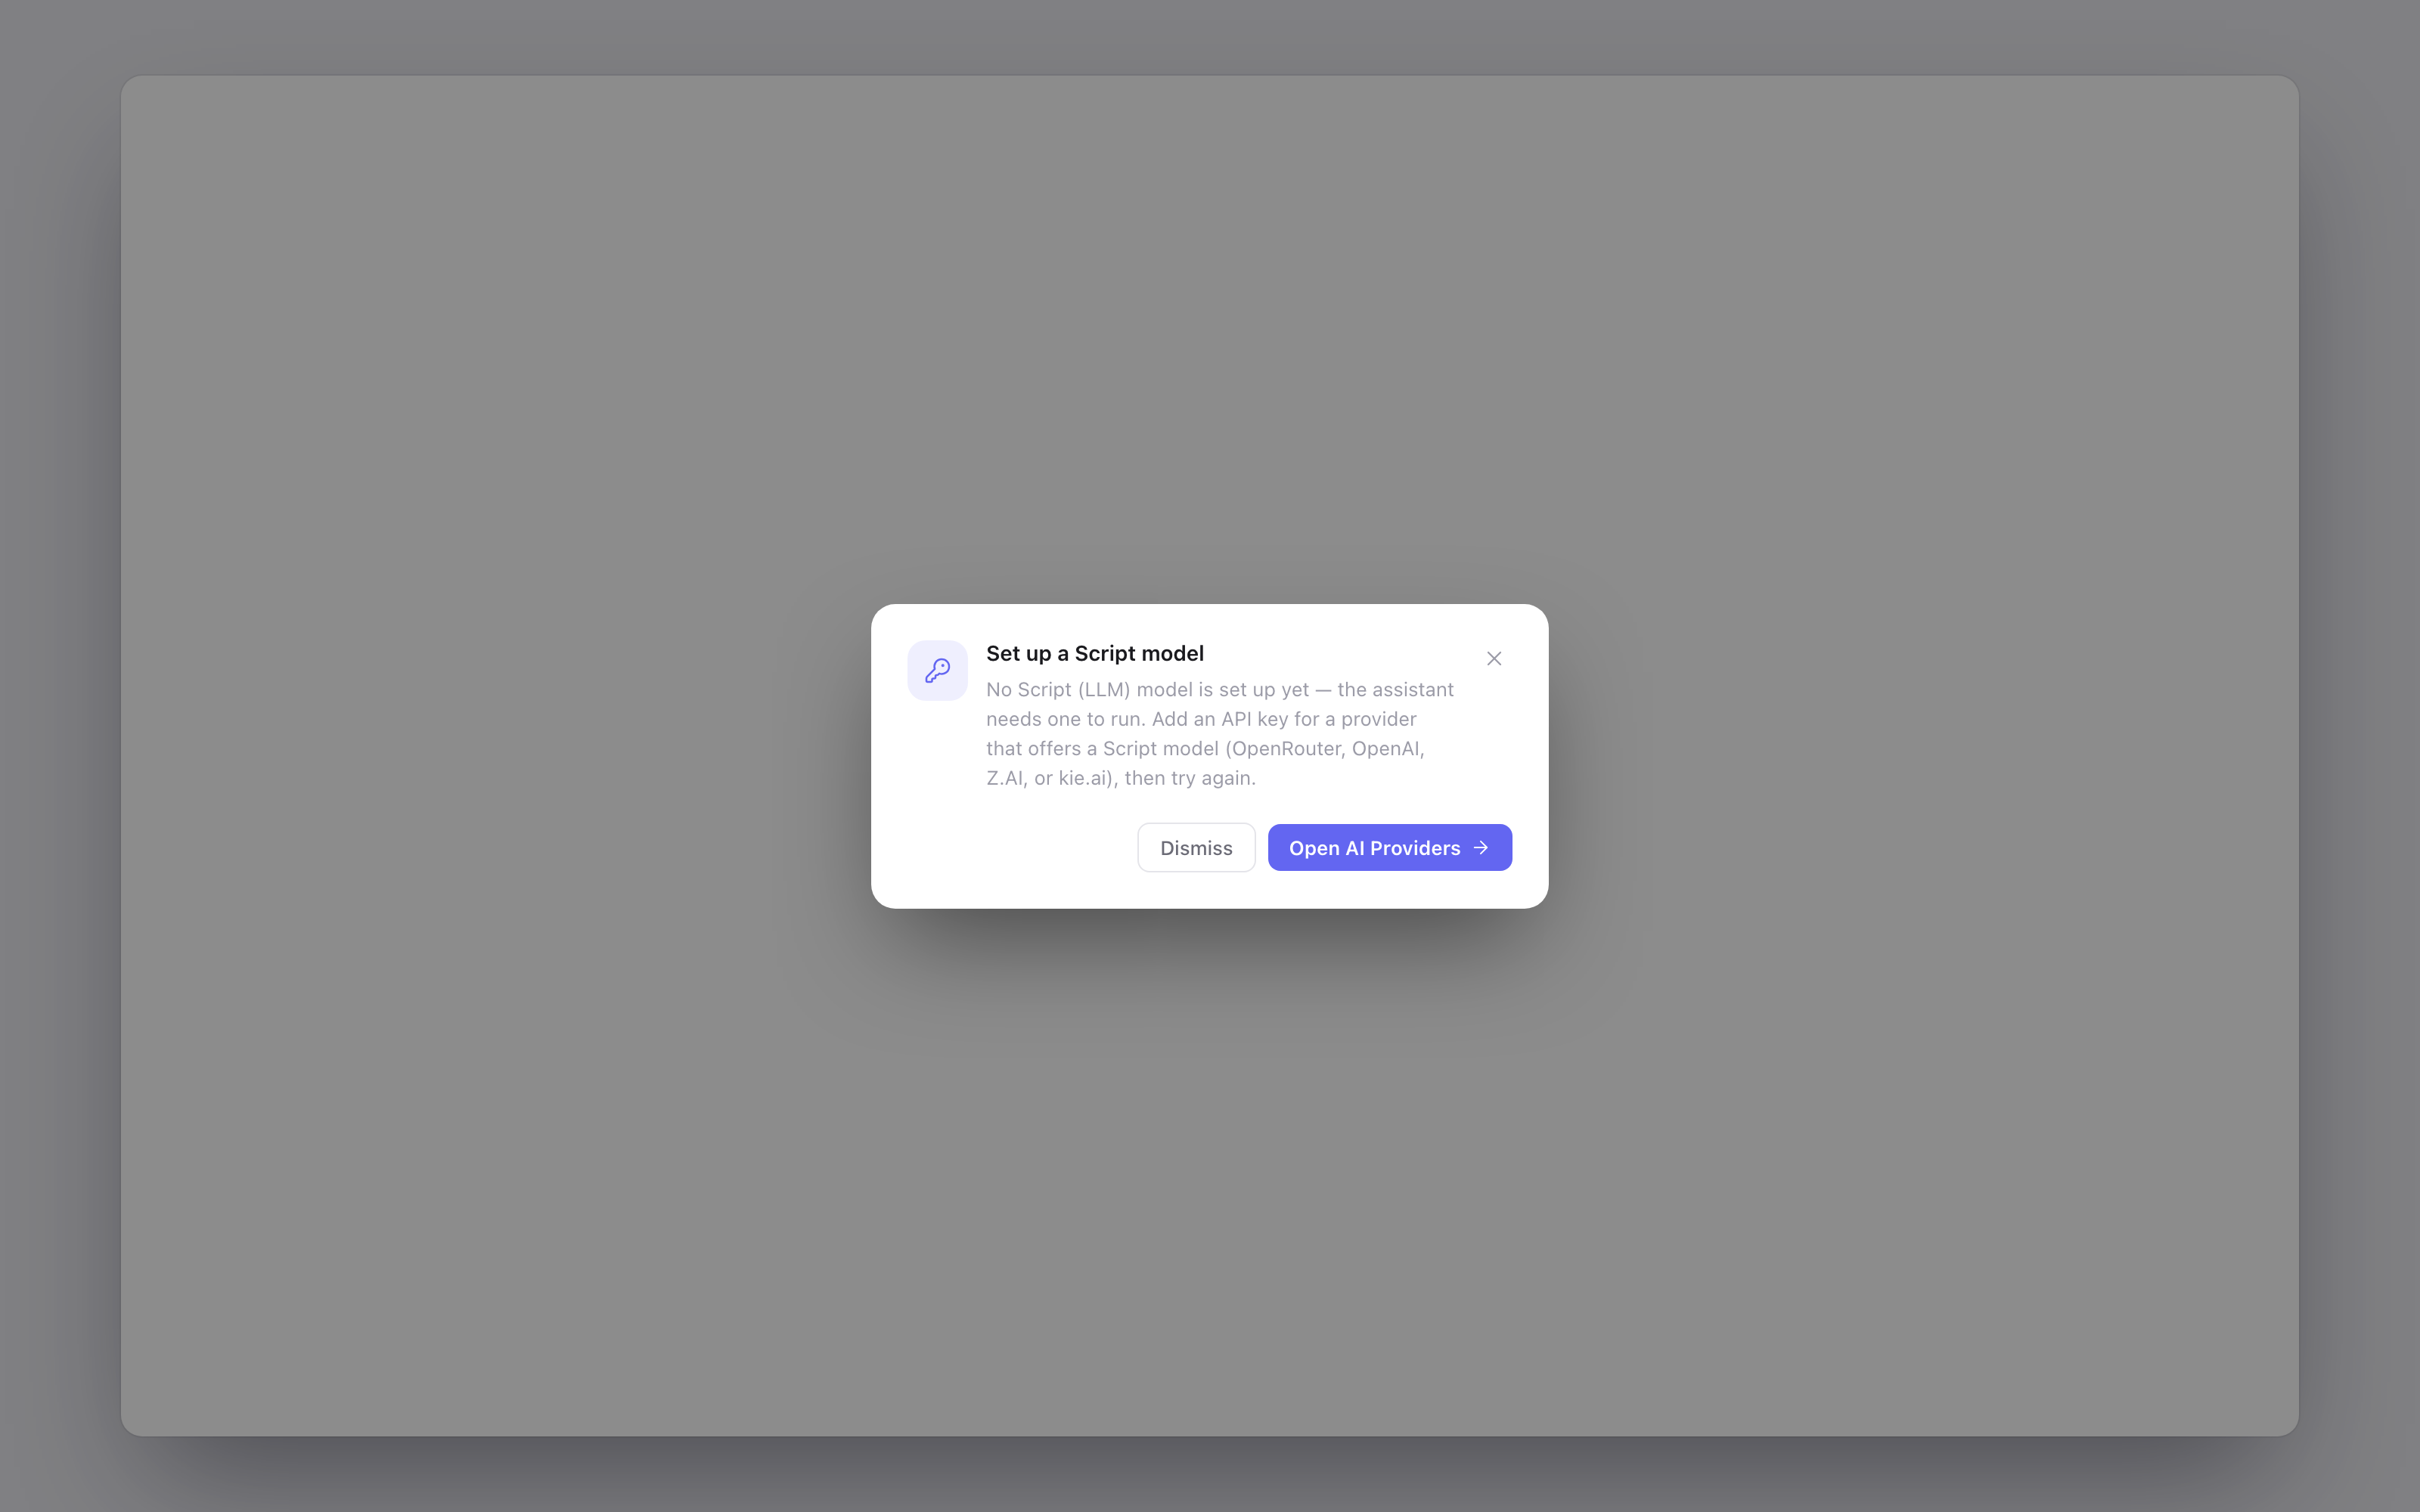
It means the AI assistant has no language model to think with yet. Every conversation — even a simple image request — is driven by a Script model that reads your prompt and decides what to generate. To fix it, click Open AI Providers and do any one of these:
- Add an API key for a provider that offers a Script model (Z.AI, OpenRouter, OpenAI, or kie.ai), or
- Download the free local Qwen3 4B model in the Local tab.
The same dialog can also appear as "API key needed" when a skill requires an output type (image, video, voice) that has no provider yet — it lists exactly what's missing.
Your first creation in 5 minutes
Ready? Here's the whole loop, end to end:
- On the Launchpad (the home screen), type an idea into the big prompt box — for example:
/image a red sports car at sunset, cinematic lighting. Or just describe it in plain words. - Press Enter. A new project is created automatically and its workspace opens with your prompt already running.
- Watch the chat on the right: the agent thinks, picks the right tool, and the result appears as a card on the canvas within seconds.
- Not quite right? Click Remix on the card for a fresh variation, or keep chatting — "make it night time", "add rain".
- Drag the cards you like down onto the timeline, then click Render — your MP4 is saved and ready to share.
That's the entire creative loop: prompt → canvas → timeline → render. Everything else in this manual builds on it. Next up: the Launchpad & Projects chapter, then Chat & the Agent for going deeper with the assistant, and Skills & the Hub for multi-stage workflows like short dramas and music videos.
Tip: Stuck at any point? Ask the chat directly — "how do I add subtitles?" — the assistant knows the app and will walk you through it.