A music video is the most demanding loop in FilmMovie Studio: music, visuals and editing all have to lock to the rhythm. The /mv-creator skill directs the whole production — from a lyrics breakdown through a story concept, art style and script to scene keyframes and video clips. Then, on the timeline, you detect the song's beat grid and land every cut exactly on it. In this advanced guide we'll walk the full path: prepare the track, generate the scenes, animate them and render a beat-synced music video.
What you'll need
- The "Getting started" loop done — you can create a project, work with cards and render an MP4.
- The lyrics of the song you want to use (pasted into chat, or as a timestamped LRC file).
- A track as an audio file — either your own (attach it via the paperclip) or one you let the app generate.
Step by step
- 1
Open the Workspace and start a music-video project
From the Launchpad create a new project (e.g. "My music video") and open the Workspace. The canvas is on the left, chat on the right — that's where you direct /mv-creator throughout. A music video is a longer loop, so it's worth keeping it in its own project.
Film Movie StudioRenderMoonlit Fox LullabyNew projectLaunchpadHubAll projectsRecent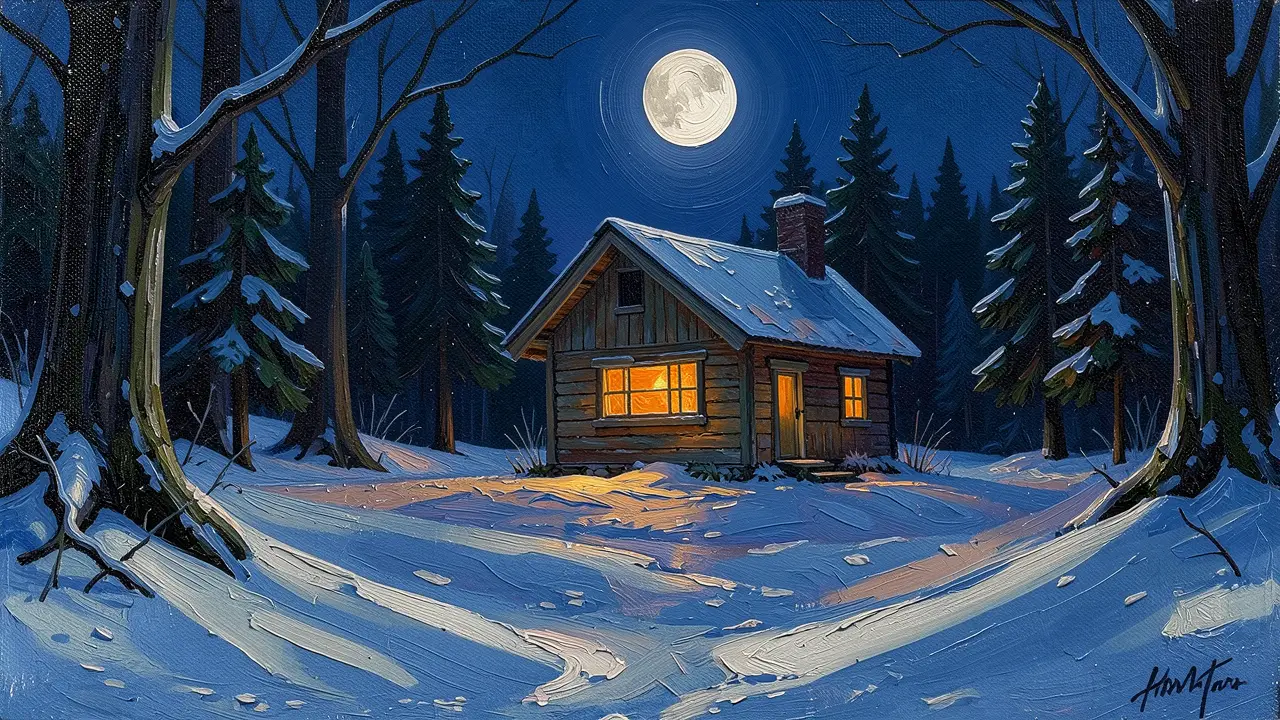 project 1
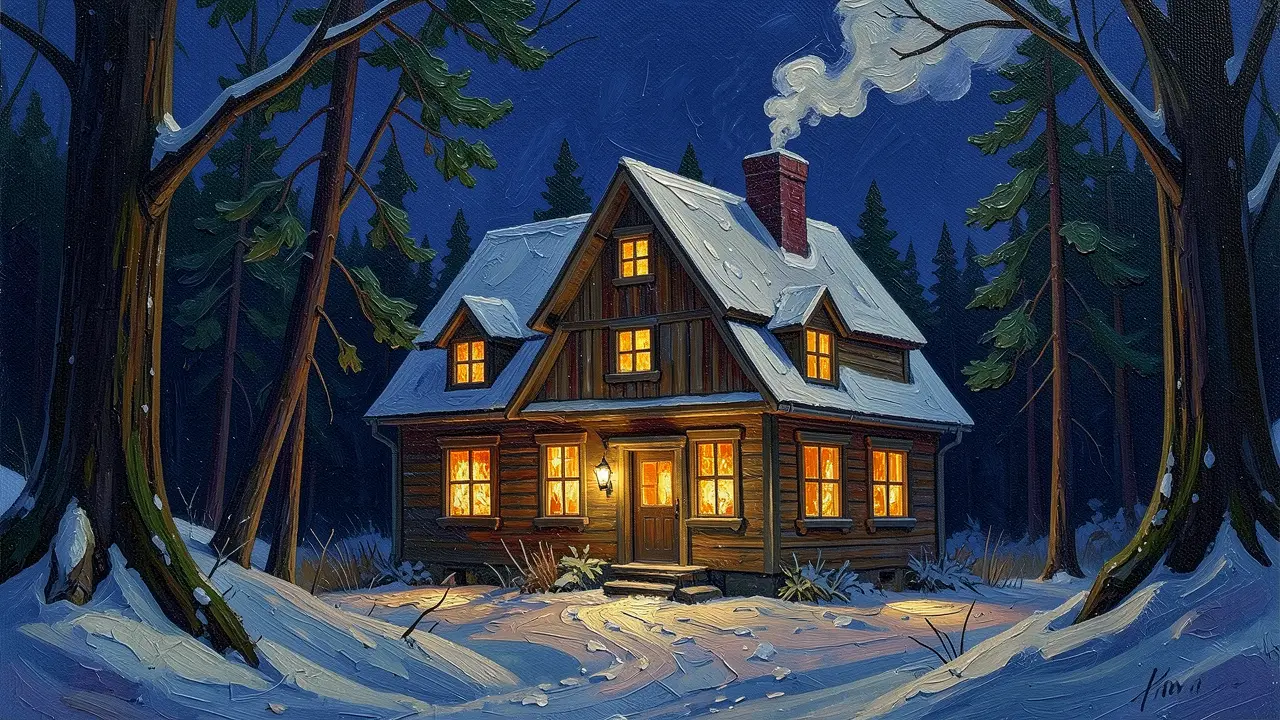 project 2
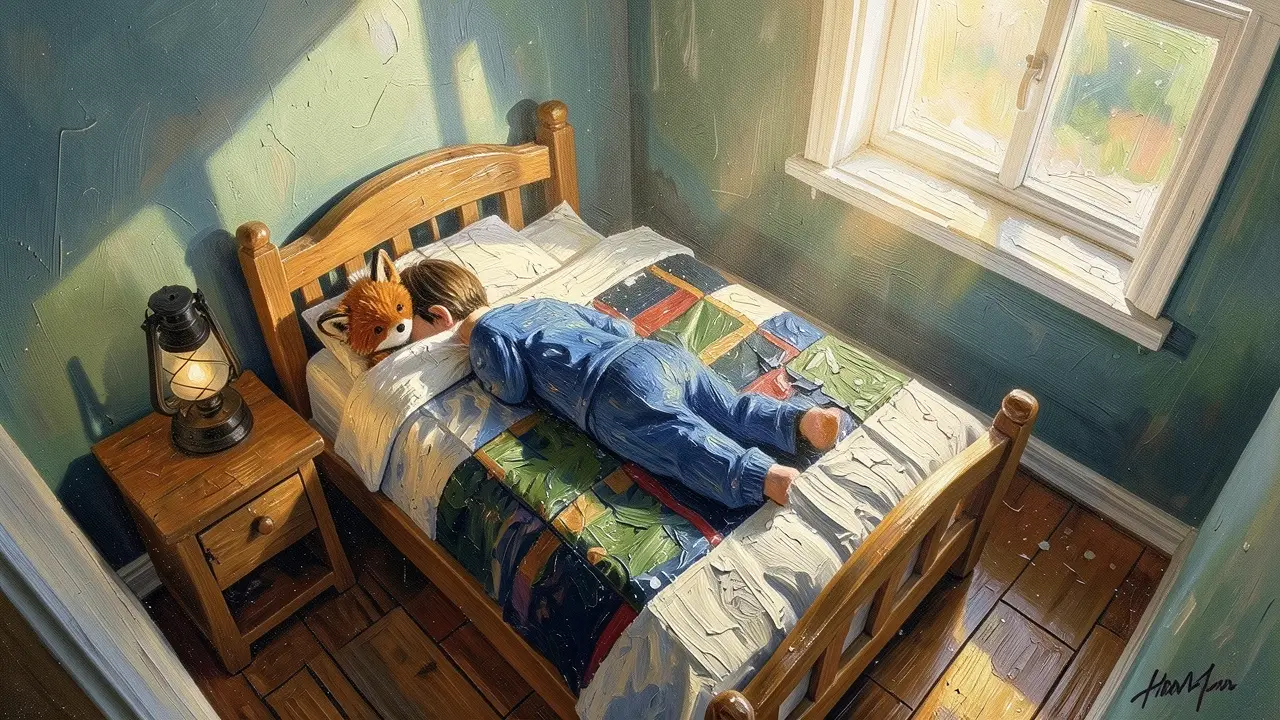 project 3Settings
Film Movie Studio
A new way to create media with AI
Describe what you want to create…
SkillsModelsType / to explore AI skills
Short DramaE-commerceMusic VideoGamesDocumentary - 2
Provide or generate the track
Music is the foundation — the whole edit later hangs off its rhythm. If you have your own track, attach the audio file via the paperclip icon and paste the lyrics (or an LRC file with timings). If you don't have a track, describe the genre and mood and let the app generate one.
Film Movie StudioRenderKinetic Beat Sync EditNew projectFilesframe_1frame_2frame_3frame_4frame_5Drag an image here, or click to upload
reference.png Tip: Attach the actual file via the paperclip — a filename typed in chat isn't enough; the app needs the real media.
 - 3
Describe the concept with /mv-creator
In chat, type /mv-creator and briefly describe what the video is about. The director breaks the lyrics into timed segments, proposes three story concepts and asks which you want. This is a "creative gate" — pick a direction and confirm an art style (cinematic, anime, painting…) that's used across the whole video.
Film Movie StudioRenderMoonlit Fox LullabyNew projectSkills/mv-creator/short-drama/image-creator/audio-studio/app-builder/mv-creator Slow camera pedestal movement lowering gently toward the foot of the bed. The sleeping child's back rises and falls rhythmically with slow breathing. The auburn fox steps forward…
SkillsModelsType / to switch skills anytime
Tip: Describe the intent, not the steps. Decide the style once — one style is held across every scene so the video reads as a coherent whole. - 4
Generate scene keyframes
From the script and storyboard, the director generates reference frames — characters, backgrounds and the first frame of each scene. These cards appear on the canvas and form the visual skeleton of the video, one scene per lyric segment.
Film Movie StudioRenderKinetic Beat Sync EditNew projectFilesframe_1frame_2frame_360%frame_01.png1024²Generating… 42%RemixVariationsframe_02.png1024² Generating… 68%RemixVariationsframe_03.png1024²
 Generating… 55%RemixVariationsTip: Characters and backgrounds share a single style-reference image, so faces and settings don't drift between scenes.
 - 5
Animate the keyframes into clips
The director turns each keyframe into a short clip using image-to-video generation: the first frame sets the composition and a motion prompt drives the camera and the subject. Each clip's length matches the length of its lyric segment.
Film Movie StudioRenderMoonlit Fox LullabyNew projectSkills/mv-creator/short-drama/image-creator/audio-studio/app-builder/mv-creator Slow camera pedestal movement lowering gently toward the foot of the bed. The sleeping child's back rises and falls rhythmically with slow breathing. The auburn fox steps forward…
SkillsModelsType / to switch skills anytime
- 6
Open the timeline
Once the clips are ready, open the timeline (it docks at the bottom). It auto-populates with the generated clips, and the track lands on the music track. You also get tracks for dialogue, SFX and subtitles — the lyrics from the first phase can be added as synced subtitles.
Film Movie StudioRenderKinetic Beat Sync EditNew projectFilesframe_1frame_2frame_3frame_4frame_5TimelineRenderVideoVoiceoverMusicSubtitles - 7
Beat-sync the cuts
Run beat detection on the track — you get the tempo (BPM) and a grid of beats. Then land your cuts exactly on them: in high-energy passages (the chorus) cut every beat at 0.5–1s; in calmer ones (intro, verse) cut every 2nd–4th beat. Let the final shot run through the closing downbeat.
Film Movie StudioRenderMoonlit Fox LullabyNew projectFilesframe_1frame_2frame_3frame_4frame_5clip_6TimelineRenderVideoVoiceoverMusicSubtitlesTip: Cut ON the beat, not near it. A wall of equal-length shots reads mechanical — let the edit "breathe" with the music. - 8
Render the finished music video
When the edit feels right, click "Render". Using ffmpeg, the app stitches the clips exactly on the beats, lays the track underneath, adds the subtitles and produces a single MP4. A "Final render" card appears on the canvas and you'll find the file saved locally in the project folder.
Film Movie StudioRenderKinetic Beat Sync EditNew projectFilesframe_1frame_2frame_3Final render1080p · MP4SaveFilesTip: Render is the terminal step — run it only at the very end. To make changes, edit the cut plan or the scenes and render again.
What you get
You've got a finished music video: a track, scenes generated in one consistent style, animated into clips and cut exactly on the beat, laid under the music with synced subtitles — all saved locally as a single MP4. The same path — prepare the track → describe the concept → generate the scenes → animate them → cut on the beat → render — now applies to any song.
Pro tips
- Hold one art style for the whole video — pick it once and every scene reuses it via the style-reference image, so faces and settings don't drift.
- For fast music (above 140 BPM) use a wider beat spacing (half-time), or the edit reads frantic; cut calmer passages every 2nd–4th beat.
- Put your strongest shot on the first beat and another standout at the song's energy peak — the opening and the finale decide how the video lands.
Try it yourself
FilmMovie Studio is a desktop app that walks you from idea to finished export. Download it and start creating.
Get FilmMovie Studio