Images are the basic building block of every project in FilmMovie Studio — the first frame of a video, a poster, a reference for later scenes. In this guide we'll walk the real workflow: generate a single image with /image-creator, which shapes a short sentence into a detailed prompt. Then you'll learn three ways to push it further — remix (same vibe, different content), inpainting (change exactly one region while the rest stays untouched), and an anime or film style you can lock for the whole project. Everything happens on the canvas and everything is saved locally on your disk.
What you'll need
- FilmMovie Studio installed (macOS or Windows) with a project open.
- At least one image-generation provider configured in Settings (a kie.ai or deAPI key).
- An idea for one image — a single sentence is enough, e.g. "a red robot in the rain".
Step by step
- 1
Open the project Workspace
From the Launchpad, open an existing project or create a new one. The Workspace opens with the Canvas on the left and the chat panel on the right — the chat is where you'll type what you want to see in the image.
Film Movie StudioRenderVoxel Golden Gate BridgeNew projectLaunchpadHubAll projectsRecent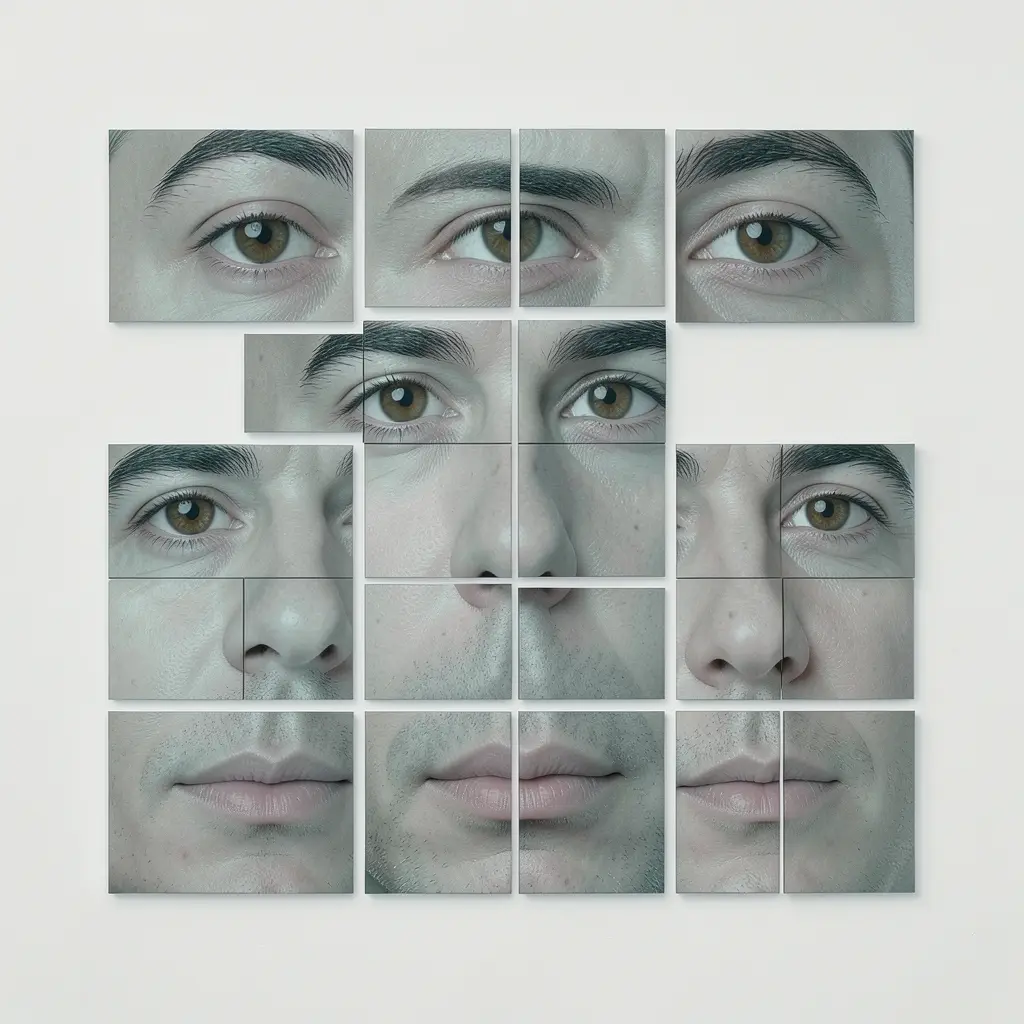 project 1
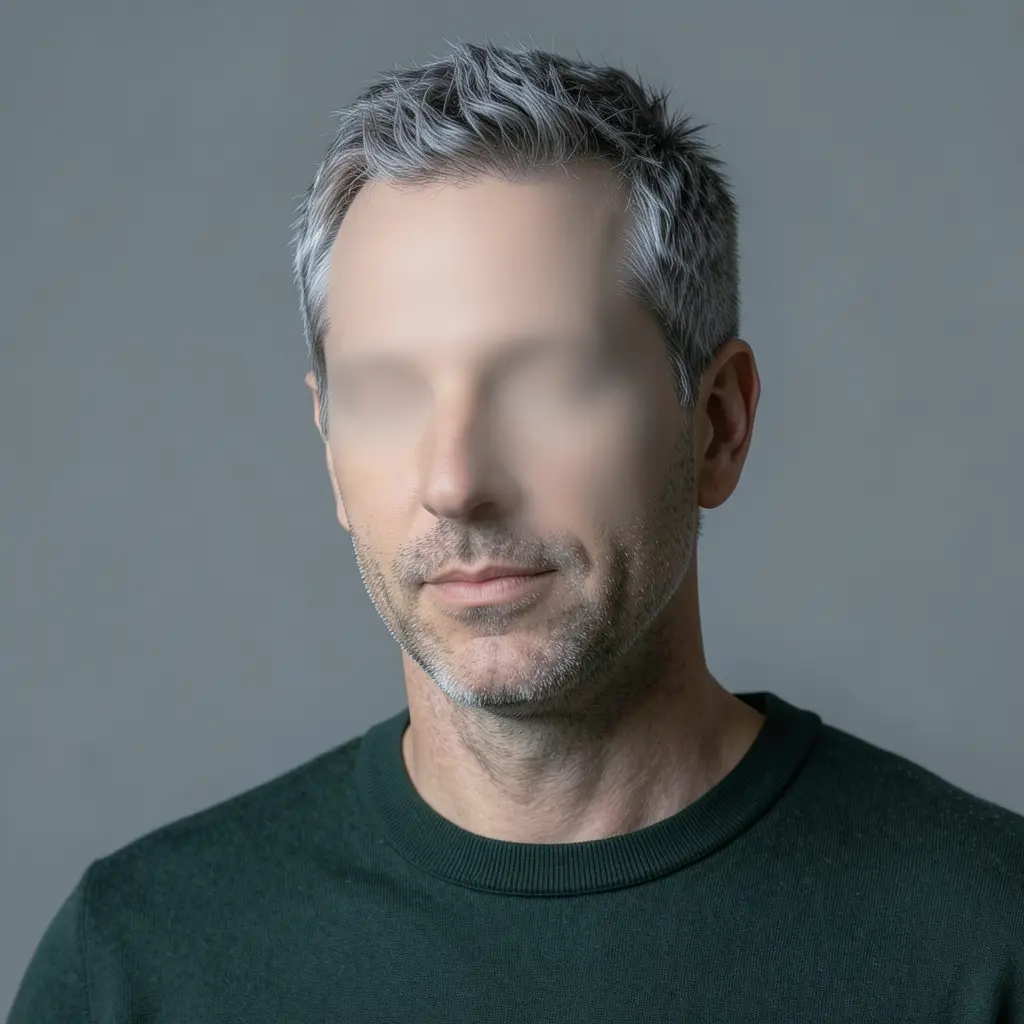 project 2
 project 3Settings
Film Movie Studio
A new way to create media with AI
Describe what you want to create…
SkillsModelsType / to explore AI skills
Short DramaE-commerceMusic VideoGamesDocumentary - 2
Type a prompt with /image-creator
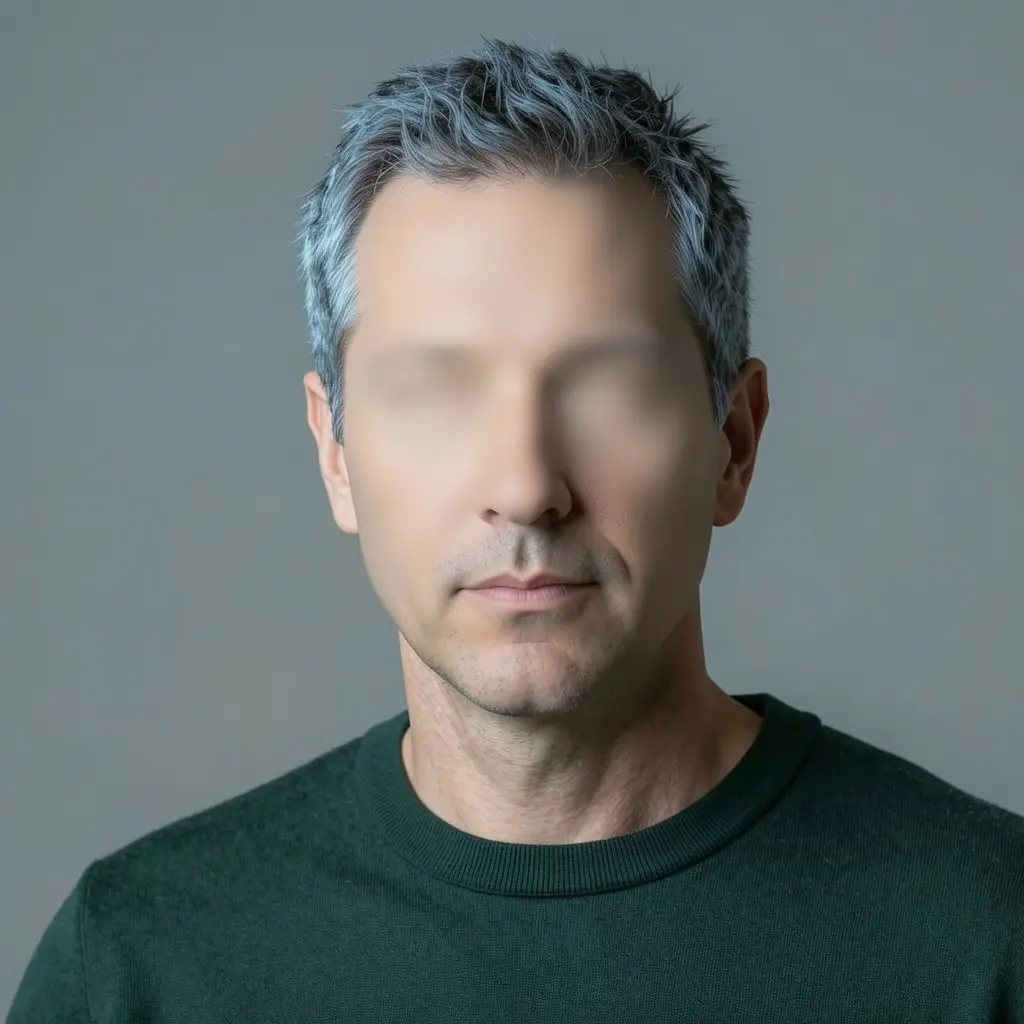
In the chat box type /image-creator followed by a short description, e.g. "/image-creator a red robot walking down a neon-lit alley in the rain". The Image Creator skill is single-shot: it shapes your sentence into one detailed prompt (subject → action → environment → lighting → composition → style) and sends it to your configured model.
Film Movie StudioRenderCubist Portrait Deconstruct…New projectSettingsAccountAppearanceProvidersUsagePricingProviders
kie.aisk-••••••••••••deAPIsk-••••••••••••OpenRoutersk-••••••••••••OpenAIPaste API keyTestElevenLabsPaste API keyTestZ.AIPaste API keyTestTip: Concrete nouns and verbs are enough. "Neon-lit, rain-slick alley" beats "atmospheric cyberpunk". Avoid words like 8K or masterpiece — on modern models they're just noise. - 3
Watch the image card appear on the canvas
A card drops onto the canvas: it first shimmers (loading), then fills with the finished image and a short descriptive name. You can drag the card, resize it, and double-click it to view fullscreen.
Film Movie StudioRenderVoxel Golden Gate BridgeNew projectFilesframe_1frame_2frame_3frame_4frame_5frame_6Drag an image here, or click to upload
reference.png - 4
Right-click to remix or make a variation
Right-click the card to open the context menu and choose "Remix". The Image Remix skill keeps the original's vibe — composition, palette, lighting — but carries it onto a new subject you name. That gives you a variation with the same feel but different content.
Film Movie StudioRenderCubist Portrait Deconstruct…New projectFilesframe_1frame_2frame_3frame_01.png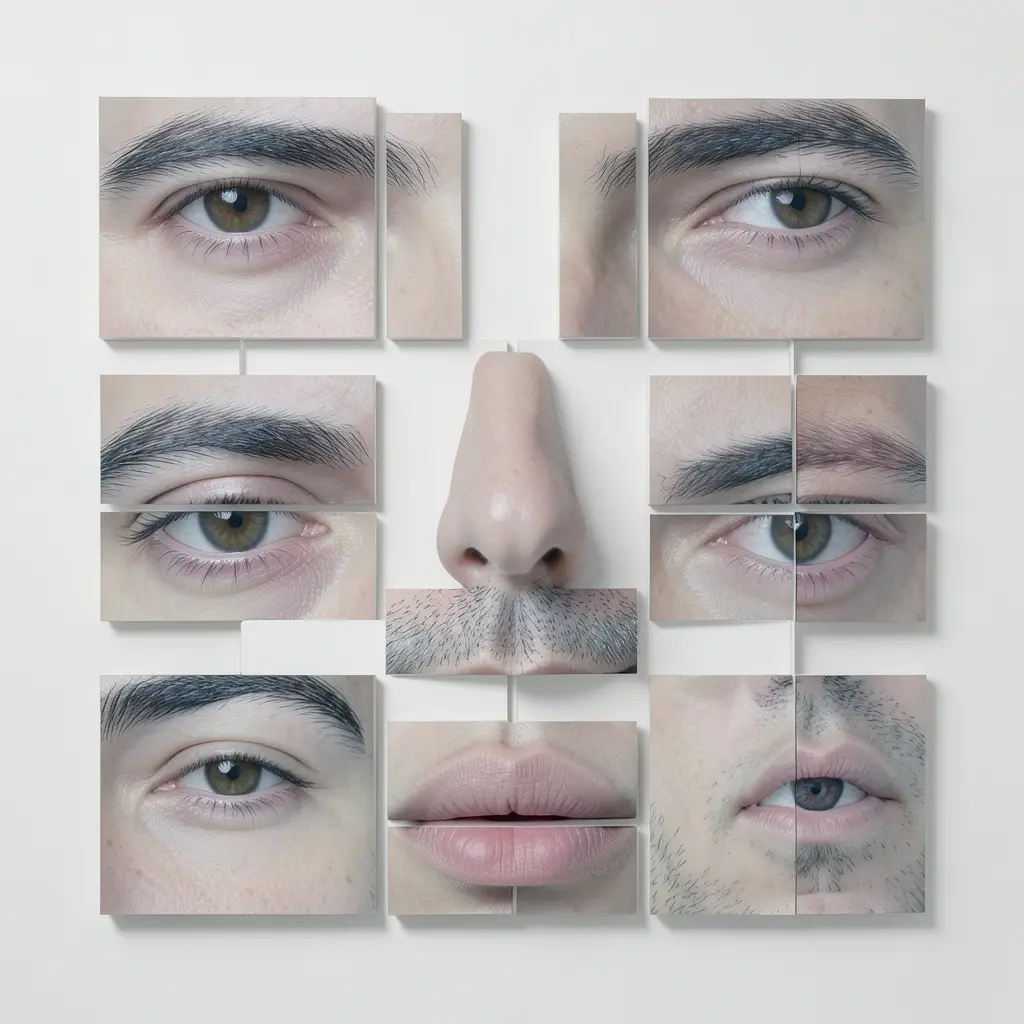 RemixVariationsAdd to timelineFullscreenDeleteTip: Remix doesn't copy the subject, it copies the image's "soul". For a slightly different take on the same motif, remix the card a few times and pick the best result.
 - 5
Repaint one region with inpainting
To change just one part of the image (swap an object, fix a detail, place a product), describe in chat exactly what should change and where — e.g. "replace the red mug on the left side of the table with a white ceramic teapot, keep everything else the same". The Image Paint Edit skill repaints only that region and preserves the rest.
Film Movie StudioRenderVoxel Golden Gate BridgeNew projectSkills/image-creator/short-drama/audio-studio/app-builder/games/image-creator A cubist feature-puzzle collage: the eyes, eyebrows, nose, and lips extracted from the reference portrait and rearranged as separate isolated pieces in a cubist grid composition…
SkillsModelsType / to switch skills anytime
Tip: Be literal about position (left/right/foreground) and name the scene's lighting so the new object fits. If you have a black-and-white mask, attach it alongside the source via the paperclip — white = repaint, black = keep. - 6
Dress the image in an anime or film style
For a consistent look, use /anime-design (14 substyles including Ghibli, webtoon, chibi or xianxia) or /film-style-picker (36 cinematic styles like cyberpunk, Wong Kar-wai, Wes Anderson). The picker helps you choose a style, compares candidates, and saves a document on the canvas with a prompt template and palette.
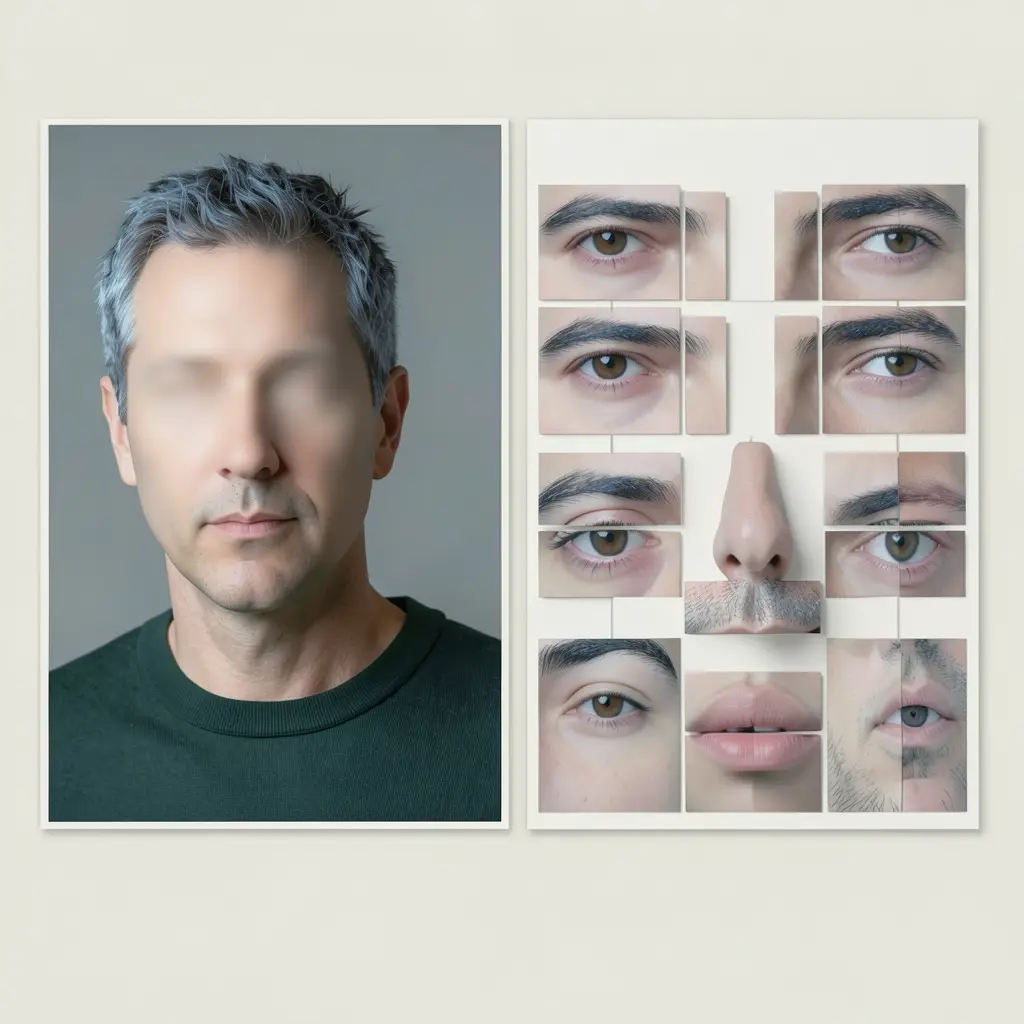
Film Movie StudioRenderCubist Portrait Deconstruct…New projectSkills/image-creator/short-drama/audio-studio/app-builder/games/image-creator Facial features extracted from the reference portrait, arranged as a cubist grid composition on an off-white gallery background — brown almond-shaped eyes, straight…
SkillsModelsType / to switch skills anytime
Tip: Prepend the style template from the "Style Guide" document to every later prompt in the project — that keeps all images on one look. An anime character is also pinned by a "Lock Card" so it stays the same person. - 7
Save the image locally
Every generated image is automatically downloaded and saved to the project folder on your disk, so it works offline and links never expire. From the card's context menu you can also export it anywhere, or add it to the timeline as a video's first frame.
Film Movie StudioRenderVoxel Golden Gate BridgeNew projectFilesframe_1frame_2frame_3frame_4frame_5frame_6Final render1080p · MP4SaveFiles
What you get
You've run the full image loop: one /image-creator command generated an image, remix spun off variations, inpainting repainted exactly one region, a style gave it a consistent look, and everything saved locally. The same pattern — describe → generate → edit → lock the style — works across the whole project, and the images are ready to become a video's first frame.
Pro tips
- Chain edits: an inpainting result can be remixed again or inpainted further — each new card links to its source, so the canvas graph reads top to bottom.
- For several images of the same character, let the anime "Lock Card" do its job: it pins hair, eyes, outfit and proportions so the character doesn't drift between shots.
- Generate in the same aspect ratio you'll use for the video later — you'll save yourself cropping and keep the style consistent.
Try it yourself
FilmMovie Studio is a desktop app that walks you from idea to finished export. Download it and start creating.
Get FilmMovie Studio