Sometimes you have a beautiful silent shot or a still image and you just want to add a voice that explains it — a narration over a memory, an intro to a video, a short story. The /narrate-scene skill does exactly that: it turns your text into a spoken voice (TTS) and loops your picture or clip so it exactly covers the length of the voice — no black tail, no silence at the end. In this guide we'll walk the whole flow click by click.
What you'll need
- One shot or image — either attach it in chat or have it ready on the canvas.
- An audio generation provider configured in Settings (a kie.ai or deAPI key).
- The narration text you want to hear — or an idea the app can write it from.
Step by step
- 1
Attach a shot and run /narrate-scene
In the chat box, attach a video or image (via the paperclip or by dragging), or leave on the canvas the one you want narrated. Then type /narrate-scene and send. The app takes the path of that single shot as its starting point.
Film Movie StudioRenderKettle In The DarkNew projectFiles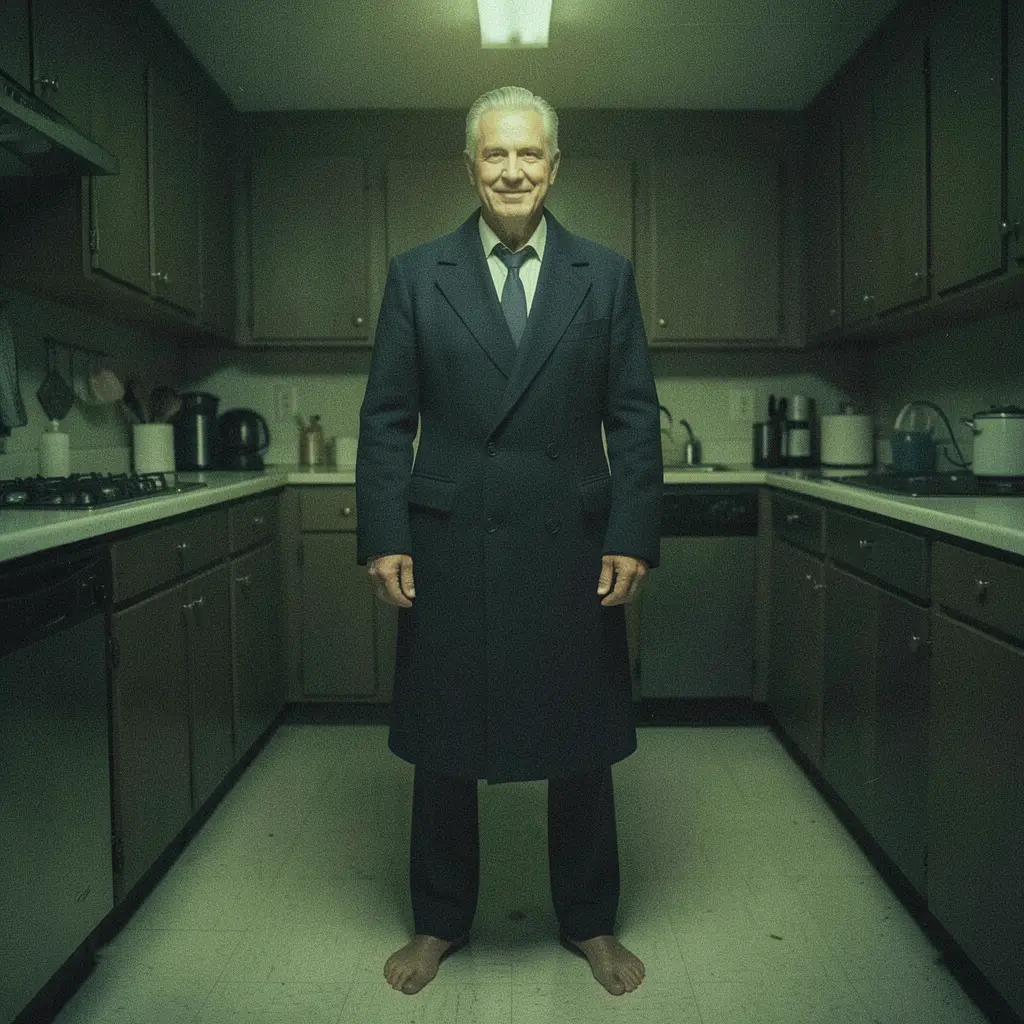 frame_1.png
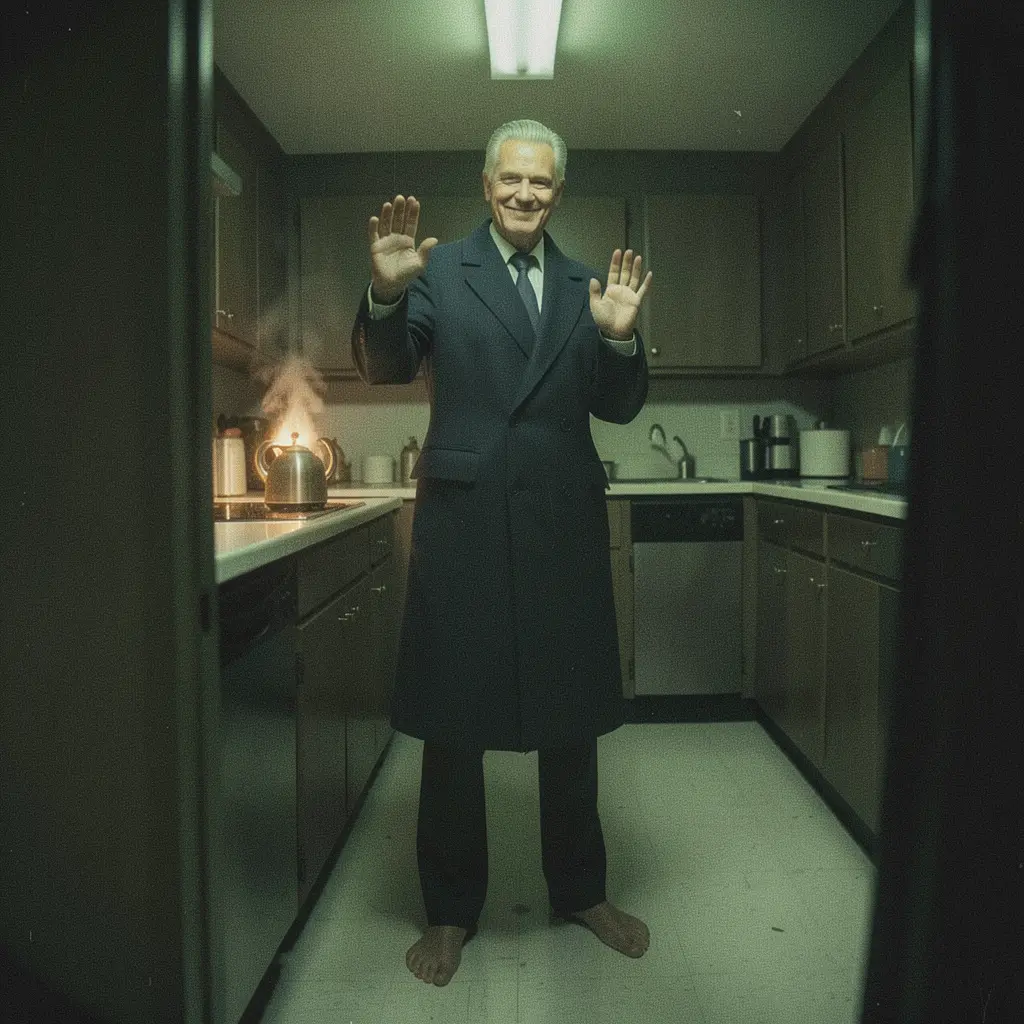 frame_2.png
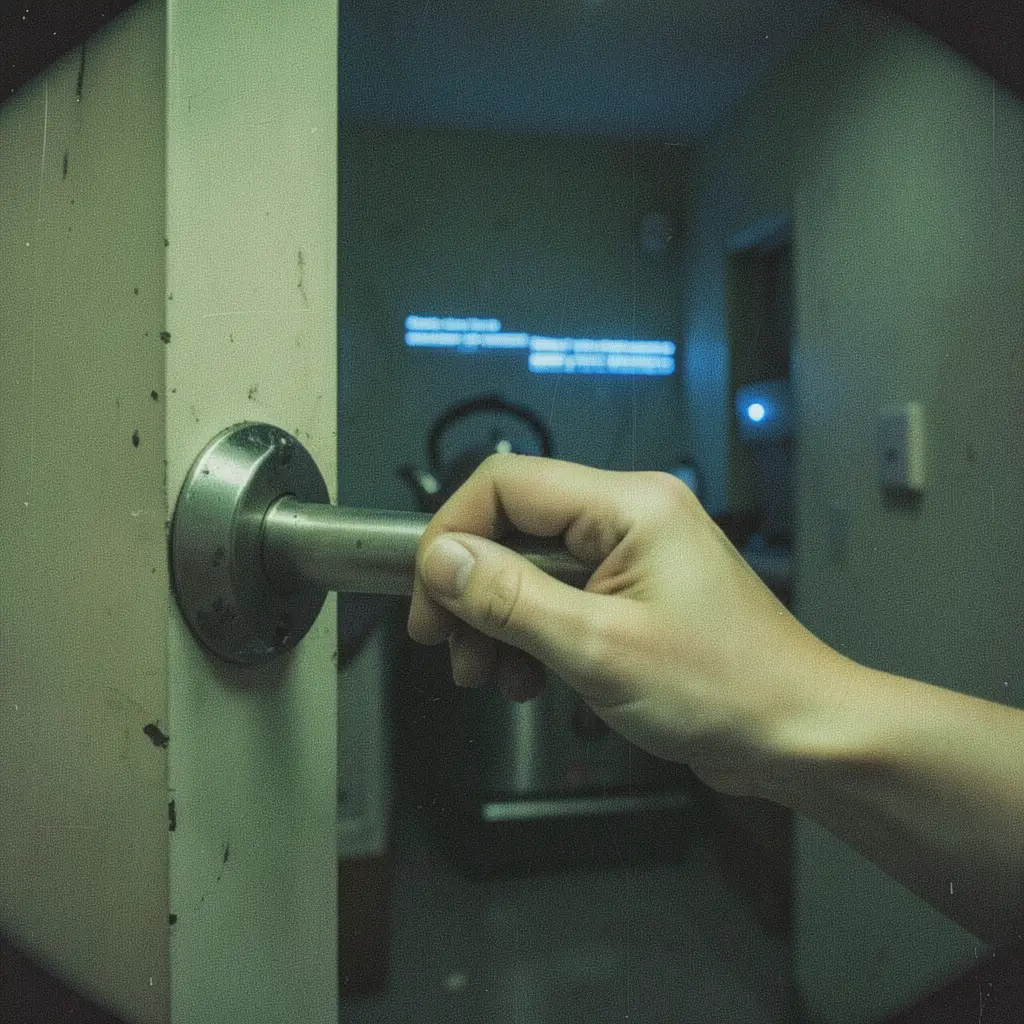 frame_3.png
 frame_4.png
Drag an image here, or click to upload
reference.pngTip: If you have several videos on the canvas, the app uses the most recent one — or asks which you mean. - 2
Paste your narration text
The app pauses and asks for the narration text. Paste exactly what the voice should say. If you don't have text, describe an idea and the app drafts one for you — then you can edit or approve it in the box.
Film Movie StudioRenderKettle In The DarkNew projectSkills/narrate-scene/short-drama/image-creator/audio-studio/app-builder/narrate-scene Handheld camera slowly pushes in over Mara's shoulder down the dim apartment hallway toward the ajar door with warm light spilling through the gap. The fluorescent…
SkillsModelsType / to switch skills anytime
Tip: Size the text to the shot — roughly 2–3 words per second of video. Shorter clip = shorter text. - 3
Pick a voice
A voice picker appears with a few options — e.g. "Warm female (af_bella)", "Calm male (am_michael)" or "Energetic". Click the one that fits the scene's mood. If you don't mind, leave the neutral narrator.
Film Movie StudioRenderKettle In The DarkNew projectFilesframe_1.pngframe_2.pngframe_3.png frame_4.png
 frame_5.png
 frame_6.pngframe_01.pngRemixVariationsAdd to timelineFullscreenDelete
 - 4
Let the voice generate (audio card)
The app generates the TTS voice from your text. An audio card with a waveform drops onto the canvas and the app remembers its length — that's the key number for the next step.
Film Movie StudioRenderKettle In The DarkNew projectFilesframe_1.pngframe_2.pngframe_3.pngDrag an image here, or click to upload
reference.png - 5
The picture loops to match the voice (video card)
To cover the whole narration, the app fits your shot to exactly the voice length: if the clip is shorter it loops to fill, if it's longer it's left whole. A new video card appears — this is the one you use on the timeline, so there's no double image and no black tail.
Film Movie StudioRenderKettle In The DarkNew projectFilesframe_1.pngframe_2.pngframe_3.png frame_4.png60%promptframe_01.pngRemixframe_02.pngRemixframe_03.pngRemixframe_04.pngGenerating… 80%Remixoutput
 - 6
Open the timeline
The app brings up the Timeline at the bottom and auto-fills it: the fitted clip lands on the video track and the voice on the Dialogue track. That's how the voice is muxed onto the picture at render time — you don't mux anything by hand.
Film Movie StudioRenderKettle In The DarkNew projectFilesframe_1.pngframe_2.pngframe_3.png frame_4.png
 frame_5.pngFinal render1080p · MP4SaveFiles
 - 7
(Optional) Add subtitles and render
If you want burned-in captions, the app transcribes the voice into synced cues on the Subtitle track (automatic transcription via deAPI). Finally, click "Render" — the app combines picture, voice and subtitles into a finished MP4 and adds a "Final render" card.
Film Movie StudioRenderKettle In The DarkNew projectFilesframe_1.pngframe_2.pngframe_3.png frame_4.png
 frame_5.png
 frame_6.pngFinal render1080p · MP4SaveFilesTip: Automatic transcription needs the deAPI subscription; without it you can add captions manually as short lines.
What you get
From a silent shot you now have a finished MP4 with a spoken voiceover: a voice generated from your text, the picture fitted exactly to its length and (optionally) burned-in subtitles — all saved locally. You can tweak subtitle styling or the voice anytime on the timeline and render again.
Pro tips
- If the voice comes out shorter than the clip and you wrote the text, add a bit more narration rather than leaving a long silence at the end.
- Short, speakable sentences sound more natural and sync better with subtitles.
- This is a single-clip tool — for a multi-shot production with several scenes, reach for other skills.
Try it yourself
FilmMovie Studio is a desktop app that walks you from idea to finished export. Download it and start creating.
Get FilmMovie Studio