Before you shoot even one frame, it helps to see the whole story at once. The /n-storyboard skill does exactly that: from your short premise it composes a single image split into a grid of panels — read left to right, top to bottom like a comic. Every panel is the next story beat, yet the character, environment and color grade stay consistent across the whole grid. It's a one-shot skill: you describe the story, optionally choose the grid size, and the app runs a single generation. In this guide we'll walk through the full flow in the FilmMovie Studio interface.
What you'll need
- An open project in FilmMovie Studio with access to the Workspace.
- An image generation provider configured in Settings (a kie.ai or deAPI key).
- A short premise — a few sentences about what happens in the story; optionally a reference image of the character or style.
Step by step
- 1
Open chat and invoke /n-storyboard
In the Workspace, click the chat box on the right and type "/". Pick /n-storyboard from the skill list. The skill icon pins in front of your message, so the app knows to use this exact workflow.
Film Movie StudioRenderThe Familiar StrangerNew projectSearch skills…AllWorkflowsQuickvideoShort DramaViral vertical mini-series, end to end.imageImage CreatorGenerate single images from a prompt.audioAudio StudioVoiceover, SFX and music tracks.copyApp BuilderMulti-screen apps with live preview.imageE-commerce DesignPro product shots for any platform.videoMusic VideoBeat-synced clips cut to your track. - 2
Describe the story in your own words
After the command, type a short premise — a few sentences are enough, e.g. "A traveler finds an abandoned cabin in the woods, steps inside and discovers an old map." You don't have to invent the panels yourself; the app breaks the story into beats. If you write nothing, the skill asks once what the story is.
Film Movie StudioRenderThe Familiar StrangerNew projectSkills/n-storyboard/short-drama/image-creator/audio-studio/app-builder/n-storyboard Slow handheld POV pan as a phone flashlight beam sweeps across a dark apartment wall revealing an obsessive collage: faded hospital records, a woman's badge photo,…
SkillsModelsType / to switch skills anytime
Tip: Write in whatever language suits you — chat follows your language, but the app always assembles the image prompt itself in English. - 3
Choose the grid size (optional)
For a different panel count, add "2×2", "3×3" or "4×4" to your message. With none stated, the app uses the default 3×3 — nine panels. Panel count = rows × columns and sets how many story beats the story is split into.
Film Movie StudioRenderThe Familiar StrangerNew projectFiles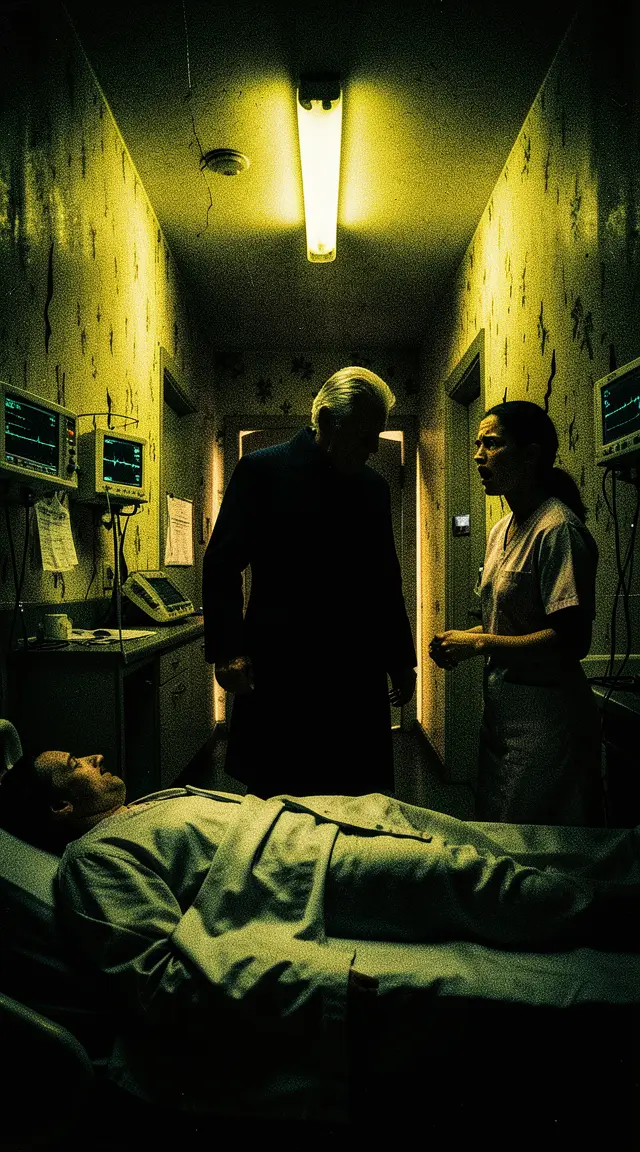 frame_1.png
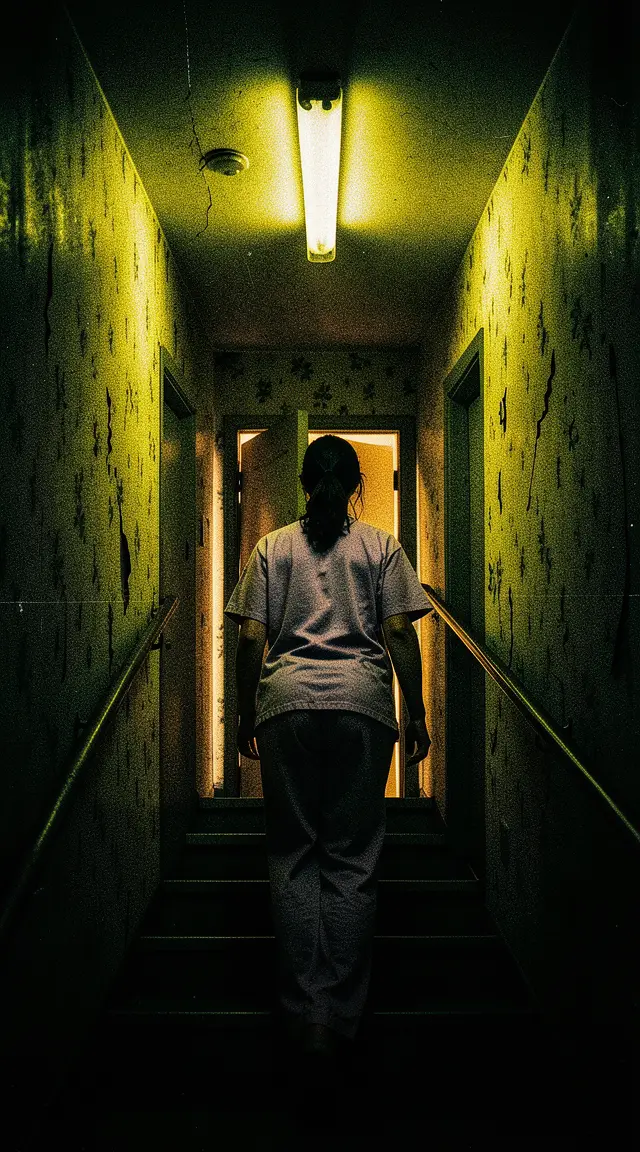 frame_2.png
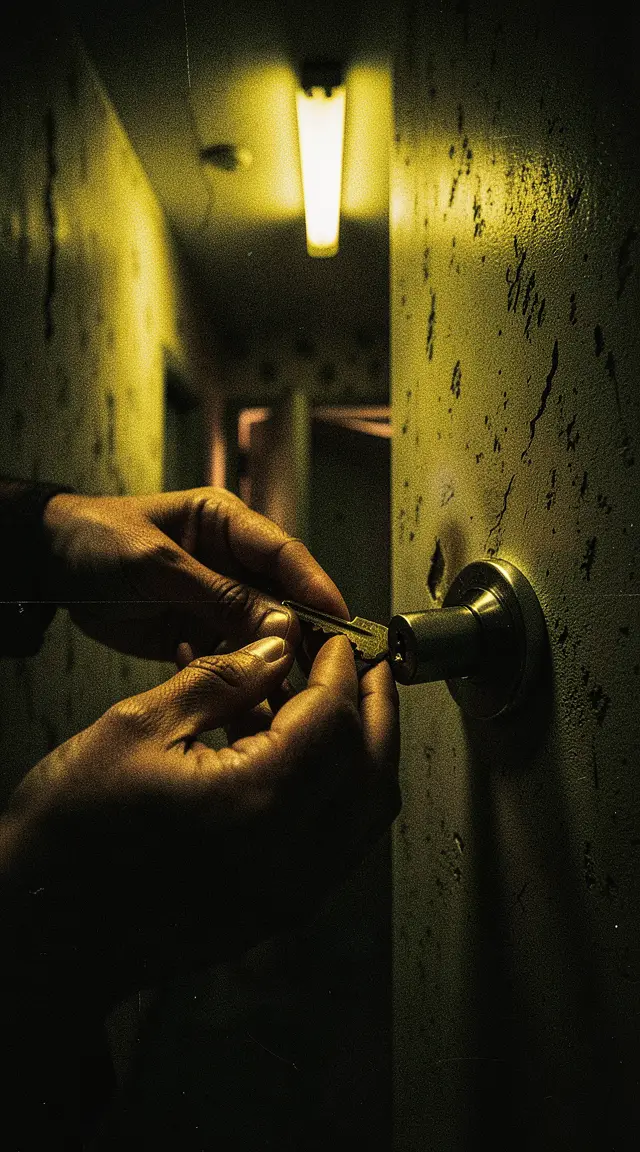 frame_3.png
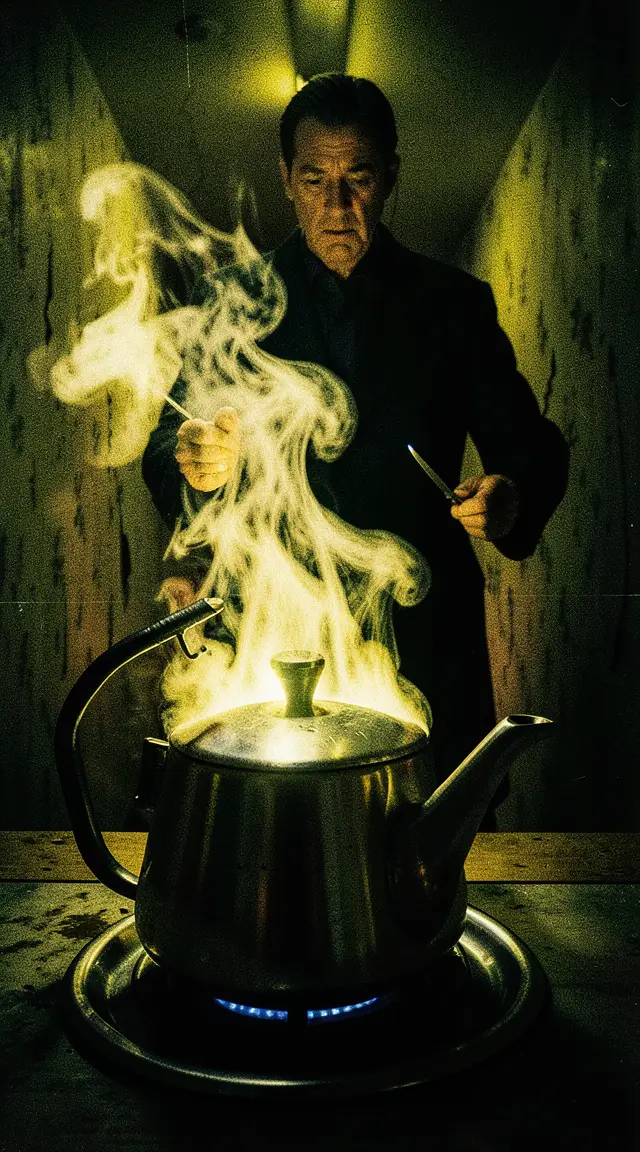 frame_4.png
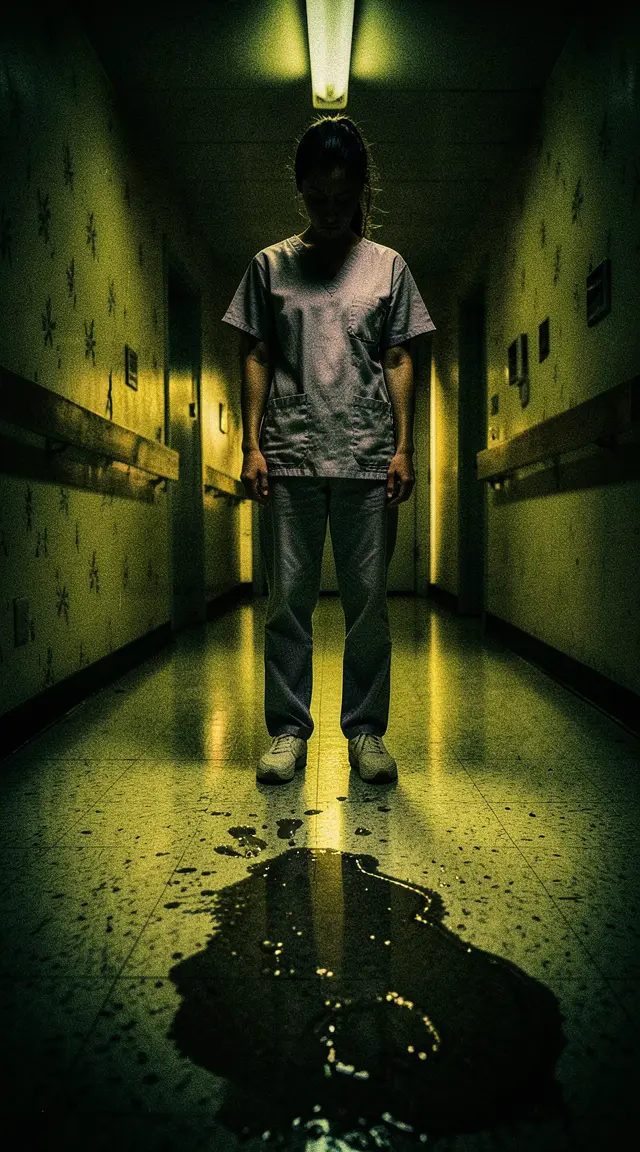 frame_5.png
 frame_6.pngframe_01.pngRemixVariationsAdd to timelineFullscreenDeleteTip: The skill deliberately won't go past 4×4 (16 panels) — beyond that, per-panel detail collapses.
 - 4
Attach a reference image (optional)
If you already have a character or a style, drag an image into chat or add it via the attachment icon. The reference becomes the supreme authority for the character's look and the style across every panel of the grid.
Film Movie StudioRenderThe Familiar StrangerNew projectFilesframe_1.pngframe_2.pngframe_3.pngDrag an image here, or click to upload
reference.png - 5
Send and watch a single generation
Press Enter. /n-storyboard is a one-shot skill: it breaks the story into panels and makes a single image generation call. A card titled something like "3x3 Storyboard — <story title>" appears on the canvas, shimmers first and then fills with the finished grid.
Film Movie StudioRenderThe Familiar StrangerNew projectFilesframe_1.pngframe_2.pngframe_3.pngframe_4.png60%promptframe_01.pngRemixframe_02.pngRemixframe_03.pngRemixframe_04.pngGenerating… 80%Remixoutput - 6
Check panel continuity
Open the card fullscreen (double-click or via the context menu). Check that the panels read left to right and top to bottom as a smooth sequence, that the same character, environment and color grade hold throughout, and that shot scale alternates between adjacent panels (wide, medium, close-up).
Film Movie StudioRenderThe Familiar StrangerNew projectFilesframe_1.pngframe_2.pngframe_3.pngframe_4.pngframe_5.pngframe_01.pngRemixVariationsAdd to timelineFullscreenDelete - 7
Refine with Remix
To change something, right-click the card and choose "Remix". In the remix, type your edit, e.g. "make panel 5 a close-up of the face" or "cooler tone across the whole grid". The skill won't regenerate on its own — a new image only appears when you ask for it.
Film Movie StudioRenderThe Familiar StrangerNew projectSkills/n-storyboard/short-drama/image-creator/audio-studio/app-builder/n-storyboard Slow handheld POV pan as a phone flashlight beam sweeps across a dark apartment wall revealing an obsessive collage: faded hospital records, a woman's badge photo,…
SkillsModelsType / to switch skills anytime
Tip: A finished grid is a great springboard: later, use the individual panels as reference shots when you animate scenes into video.
What you get
On the canvas you have one card — a complete storyboard as an N×N grid, where every panel is the next story beat with a consistent character, environment and color grade. From a single brief and one generation you've got a clear shot plan you can remix or use as a reference for the rest of your work.
Pro tips
- Vary the shot scale: a wide first panel to anchor the scene, a payoff in the last — it avoids a dull grid of identical shots.
- One character is enough for a reference image: the app carries its face, hair and costume into every panel, so the character stays recognizable.
- Don't ask for "8K", "hyper-realistic" or "masterpiece" — these are classic AI-tells that tend to hurt the result; describe the style, palette and lighting instead.
Try it yourself
FilmMovie Studio is a desktop app that walks you from idea to finished export. Download it and start creating.
Get FilmMovie Studio