Sometimes you don't want to regenerate an image — you want to change a single thing and leave everything else as it is. That's exactly what the /image-paint-edit skill is for: a surgical, local edit. You paint a mask precisely over the region you want to change (white = repaint, black = preserve), describe in words what should be there, and the model repaints only that part. The background, lighting and composition stay untouched. In this guide we'll walk the whole process step by step on a single FilmMovie Studio canvas.
What you'll need
- An image to edit — either as a card on the canvas or a file ready to attach in chat.
- An image-generation provider configured in Settings (a kie.ai or deAPI key).
- A clear idea of one change: which region you're editing and what should be there instead.
Step by step
- 1
Pick the source image
Find the card on the canvas with the image you want to edit, or prepare a new image in chat by clicking the paperclip and attaching a file. This single image is the source — everything you don't change on it stays preserved.
Film Movie StudioRenderVOLN Sparkling Water Campai…New projectFiles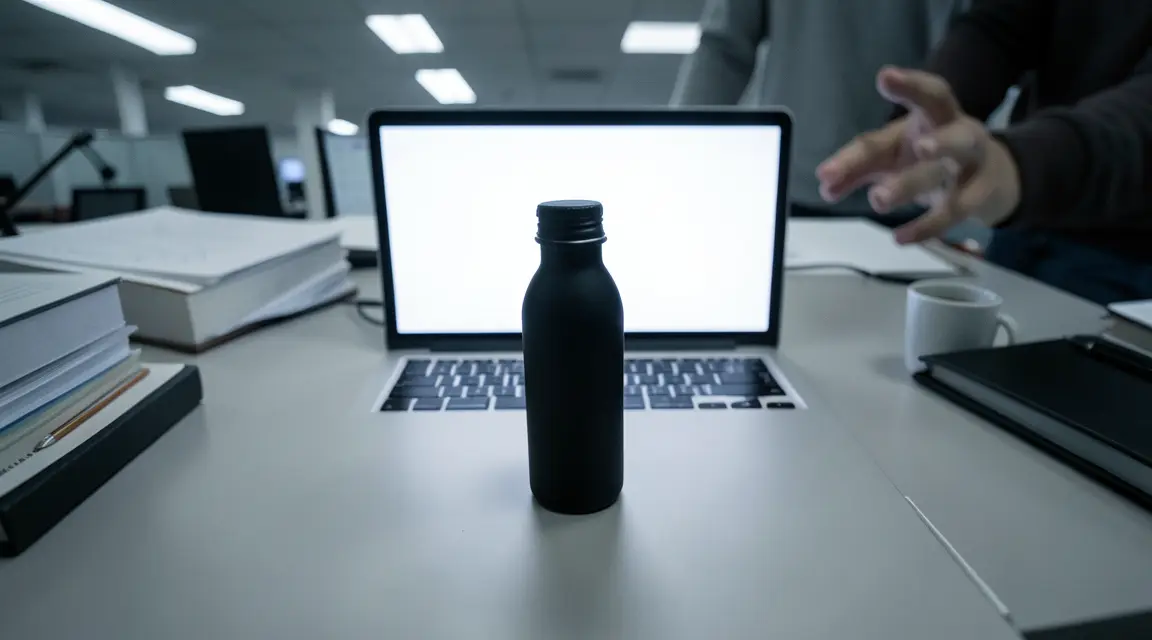 frame_1.png
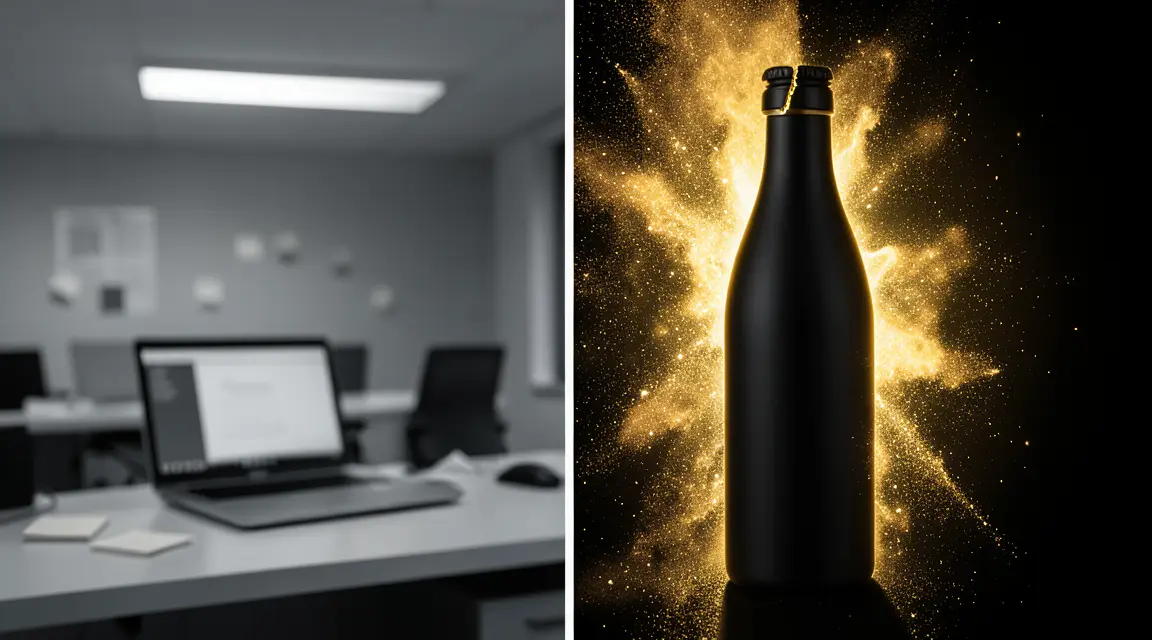 frame_2.png
 frame_3.png
 frame_4.png
Drag an image here, or click to upload
reference.png - 2
Launch the /image-paint-edit skill
In the chat box, type "/" and choose /image-paint-edit from the list. Attach the source image (or tell the app which card to use, e.g. "edit that kitchen photo"). The app confirms which image it's taking as the source.
Film Movie StudioRenderVOLN Sparkling Water Campai…New projectFilesframe_1.pngframe_2.pngframe_3.pngframe_4.png frame_5.png
Drag an image here, or click to upload
reference.pngTip: If several candidates match, the app asks once which card you mean — pick it with a click. - 3
Paint a mask over the region
Activate the mask brush and paint precisely over the spot you want to change — e.g. over the red mug on the table. White marks the area to repaint; black (unpainted) area stays untouched. The mask matches the source's dimensions.
Film Movie StudioRenderVOLN Sparkling Water Campai…New projectFilesframe_1.pngframe_2.pngframe_3.pngframe_4.png frame_5.png
 frame_6.pngframe_01.pngRemixVariationsAdd to timelineFullscreenDeleteTip: Paint right up to the object's edges. Too large a mask wipes the surroundings too; too small leaves part of the original object visible.
 - 4
Describe what should fill the mask
In chat, write concretely what should appear in the repainted (white) area — e.g. "a white ceramic teapot with a bamboo handle". Describe material and shape, not feelings. The app turns this into an English edit prompt for the model.
Film Movie StudioRenderVOLN Sparkling Water Campai…New projectSkills/image-paint-edit/short-drama/image-creator/audio-studio/app-builder/image-paint-edit A conceptual mood frame establishing the visual system for a sparkling water brand called VOLN. The image is split into two zones divided by a hard vertical threshold.…
SkillsModelsType / to switch skills anytime
- 5
Match the light and perspective
Add the scene's light direction and quality and how the object sits in space — e.g. "lit by the warm window light from the right, soft shadow falling left, sitting on the table, same camera angle". This makes the new object blend into the scene.
Film Movie StudioRenderVOLN Sparkling Water Campai…New projectFilesframe_1.pngframe_2.pngframe_3.pngframe_4.png60%promptframe_01.pngGenerating… 42%Remixframe_02.pngGenerating… 68%Remixframe_03.pngGenerating… 55%Remixframe_04.pngGenerating… 80%RemixoutputTip: Spatial words (left/right, fore/background, "on", "behind") work better than vague adjectives. - 6
Run the edit and watch the card
Confirm the generation. A new card linked to the source appears on the canvas; it shimmers first (loading), then fills with the edited image. Only the area under the mask is repainted — the background, composition and the rest of the colors stay the same.
Film Movie StudioRenderVOLN Sparkling Water Campai…New projectFilesframe_1.pngframe_2.pngframe_3.pngframe_4.png frame_5.png60%promptframe_01.pngRemixframe_02.pngRemixframe_03.pngRemixframe_04.pngGenerating… 80%Remixoutput
 - 7
Check the result and refine
Open the card fullscreen and compare it with the source. The app offers one refinement round. If the object itself is wrong, repaint from the original source; if you only need to fix the blend or lighting, use the already-edited image as the new source.
Film Movie StudioRenderVOLN Sparkling Water Campai…New projectFilesframe_1.pngframe_2.pngframe_3.pngframe_4.pngframe_5.png frame_6.pngframe_01.pngRemixVariationsAdd to timelineFullscreenDeleteTip: One change per run. Make multiple edits sequentially — each on the result of the previous one.
What you get
You have an edited image where exactly one region under the mask changed and everything else — background, light, composition and colors — stayed untouched. The new card hangs on the canvas linked to the source, so the whole chain of edits reads top to bottom. You use the same flow to swap an object, fix a detail, or drop a product into a scene.
Pro tips
- The mask is black and white: white = repaint from the prompt, black = preserve. It must match the source image's dimensions.
- To place a real product, also attach its photo as a second image and say in the prompt "place the product from the second image onto...".
- For busier edits, first let the app describe the image (objects, positions, light direction) so you can name the region precisely.
Try it yourself
FilmMovie Studio is a desktop app that walks you from idea to finished export. Download it and start creating.
Get FilmMovie Studio